
Introduction
Starting a YouTube channel is technically easy — a Google account and a few clicks are enough. Starting one that people actually watch is a different job. Most new channels fail not because the creator lacks talent, but because the channel has no clear topic, the channel page looks unfinished, and the first videos are improvised one at a time.
None of those problems require money to fix. They require a plan: pick a focused topic, set up the channel page properly, prepare a small batch of video ideas, and follow a publishing rhythm you can actually sustain. You do not need a studio, a new camera, or a paid editor. The phone in your pocket and free software are enough to start.
Step 1: Pick a narrow niche before you create anything
A channel that is “about everything” gives a viewer no reason to subscribe. When someone finds one of your videos useful, they check your channel page to see what else you make. If the next three videos are on unrelated topics, they leave without subscribing. Pick a niche narrow enough that a viewer can describe it in one sentence, and broad enough that you can make at least 20 videos about it without repeating yourself.
- Good niche: “Budget-friendly home cooking for one person.” A viewer knows exactly what they get.
- Too broad: “Food and travel and tech.” A viewer does not know what subscribing means.
- Too narrow: “Recipes using only a single brand of rice cooker.” You will run out of ideas in a month.
Write down the topic, the viewer you are helping, and the promise of the channel in one sentence. That sentence becomes the backbone of your channel description. Pick a subject you are already curious about, not just one that looks popular today — your interest is what gets you through video number twelve.
Step 2: Create the channel
Creating a channel takes a few minutes. The decisions you make here are easy to change later, so do not overthink them — but understand the two account types, because they matter.
- Sign in to YouTube with a Google account.
- Click your profile picture, then Settings.
- Select Add or manage your channel(s).
- Click Create a channel and follow the prompts to enter a name and a handle.
You will choose between two types of channel:
- Personal channel. This uses your Google account name as the channel name. It is the simplest option if you are the face of the channel and do not plan to hand it to anyone else.
- Brand Account. This lets you use a custom name that is different from your Google account name, and it can have several managers. Choose this if the channel is a brand, a business, or a project you might one day share with a collaborator.
Your handle is the unique @handle that appears in your channel URL and lets people tag you. Choose one that is short, easy to spell out loud, and consistent with your name on other platforms if you have them. A handle can be changed at most twice within 14 days, so pick carefully rather than changing it every week.
Step 3: Verify your phone number early
Do this on day one, not when you need it. Phone verification unlocks uploads longer than 15 minutes, custom thumbnails, and live streaming. YouTube also has advanced features that require more than phone verification: video verification, a valid ID, or about two months of channel history. Verify your phone number now, and the advanced features will become available as your channel builds history.
While you are in settings, turn on 2-Step Verification for the Google account behind the channel. This is not optional housekeeping: 2-Step Verification is required to join the YouTube Partner Program later, and a channel with a growing audience is a target for account theft. Set it up before the channel has anything worth stealing.
Step 4: Set up the channel page
A viewer who clicks through to your channel page decides in seconds whether you look serious. Fill in every field before you publish your first video — an empty channel page tells a visitor the channel was abandoned before it started.
Profile picture. Use a clear photo of yourself if you are the face of the channel, or a simple logo if it is a brand. It displays as a small circle, so avoid busy images and small text.
Banner. The recommended banner size is 2560 × 1440 pixels, with a safe area of 1546 × 423 pixels in the center — the part visible on every device. Put your channel name and your one-sentence promise in the safe area. A banner made in a free design tool is fine.
Description. The first one or two lines matter most, because they show up in search results. Say who the channel is for and what you publish, then add a publishing schedule if you have one. Keep it specific — “Weekly videos on budget home cooking for one person” tells a viewer more than “Welcome to my channel!”
Links and playlists. Add links to your website, blog, or social profiles — if you run a blog alongside the channel, link it here, since the two formats reinforce each other. Our guide to how to start a blog from scratch covers the same niche-first thinking for written content. Create one playlist per series or sub-topic, even if each has only one video to start; playlists keep people watching a second video instead of leaving.
Step 5: Plan your first four videos before you record anything
Do not record video one first. Plan four. Four videos give a new visitor a reason to subscribe, give you practice before you judge yourself, and let you test which ideas work.
A solid first batch has a pattern:
- The “start here” video. The single most useful video in your niche for a complete beginner. This is the one you want search traffic to find.
- A common-mistakes video. Beginners search for mistakes to avoid, and this format is easy to write because you already know the mistakes.
- A simple tutorial. One clear task, done step by step, with no filler. Tutorials are the most searchable video type for a new channel.
- A personal or opinion video. Why you started, or what you think about a popular method. This one shows your personality and gives viewers a reason to come back for you, not just the information.
For each video, write the title, the one-sentence promise, and five bullet points of what it covers. If you cannot write five bullet points, the idea is too thin. Titles should say what the video delivers: “How to Cook Rice Perfectly Every Time” beats “Cooking Rice.”
Step 6: Record and upload your first video in YouTube Studio
YouTube Studio is where the channel is managed. The upload flow is the same every time, so learn it once and repeat it.
- In YouTube Studio, click Create, then Upload videos.
- Select your video file and wait for it to process.
- Add a title, a description, and a thumbnail. The description should repeat the video’s promise in the first two lines.
- If you used a custom thumbnail, upload it here. Custom thumbnails require phone verification.
- Declare whether the video is made for kids. This is a legal declaration under children’s privacy rules, not a style choice — mark it accurately. Videos made for kids have comments and some features disabled.
- Choose visibility: Private (only you), Unlisted (anyone with the link), or Public (everyone). Publish when you are ready, or schedule it.
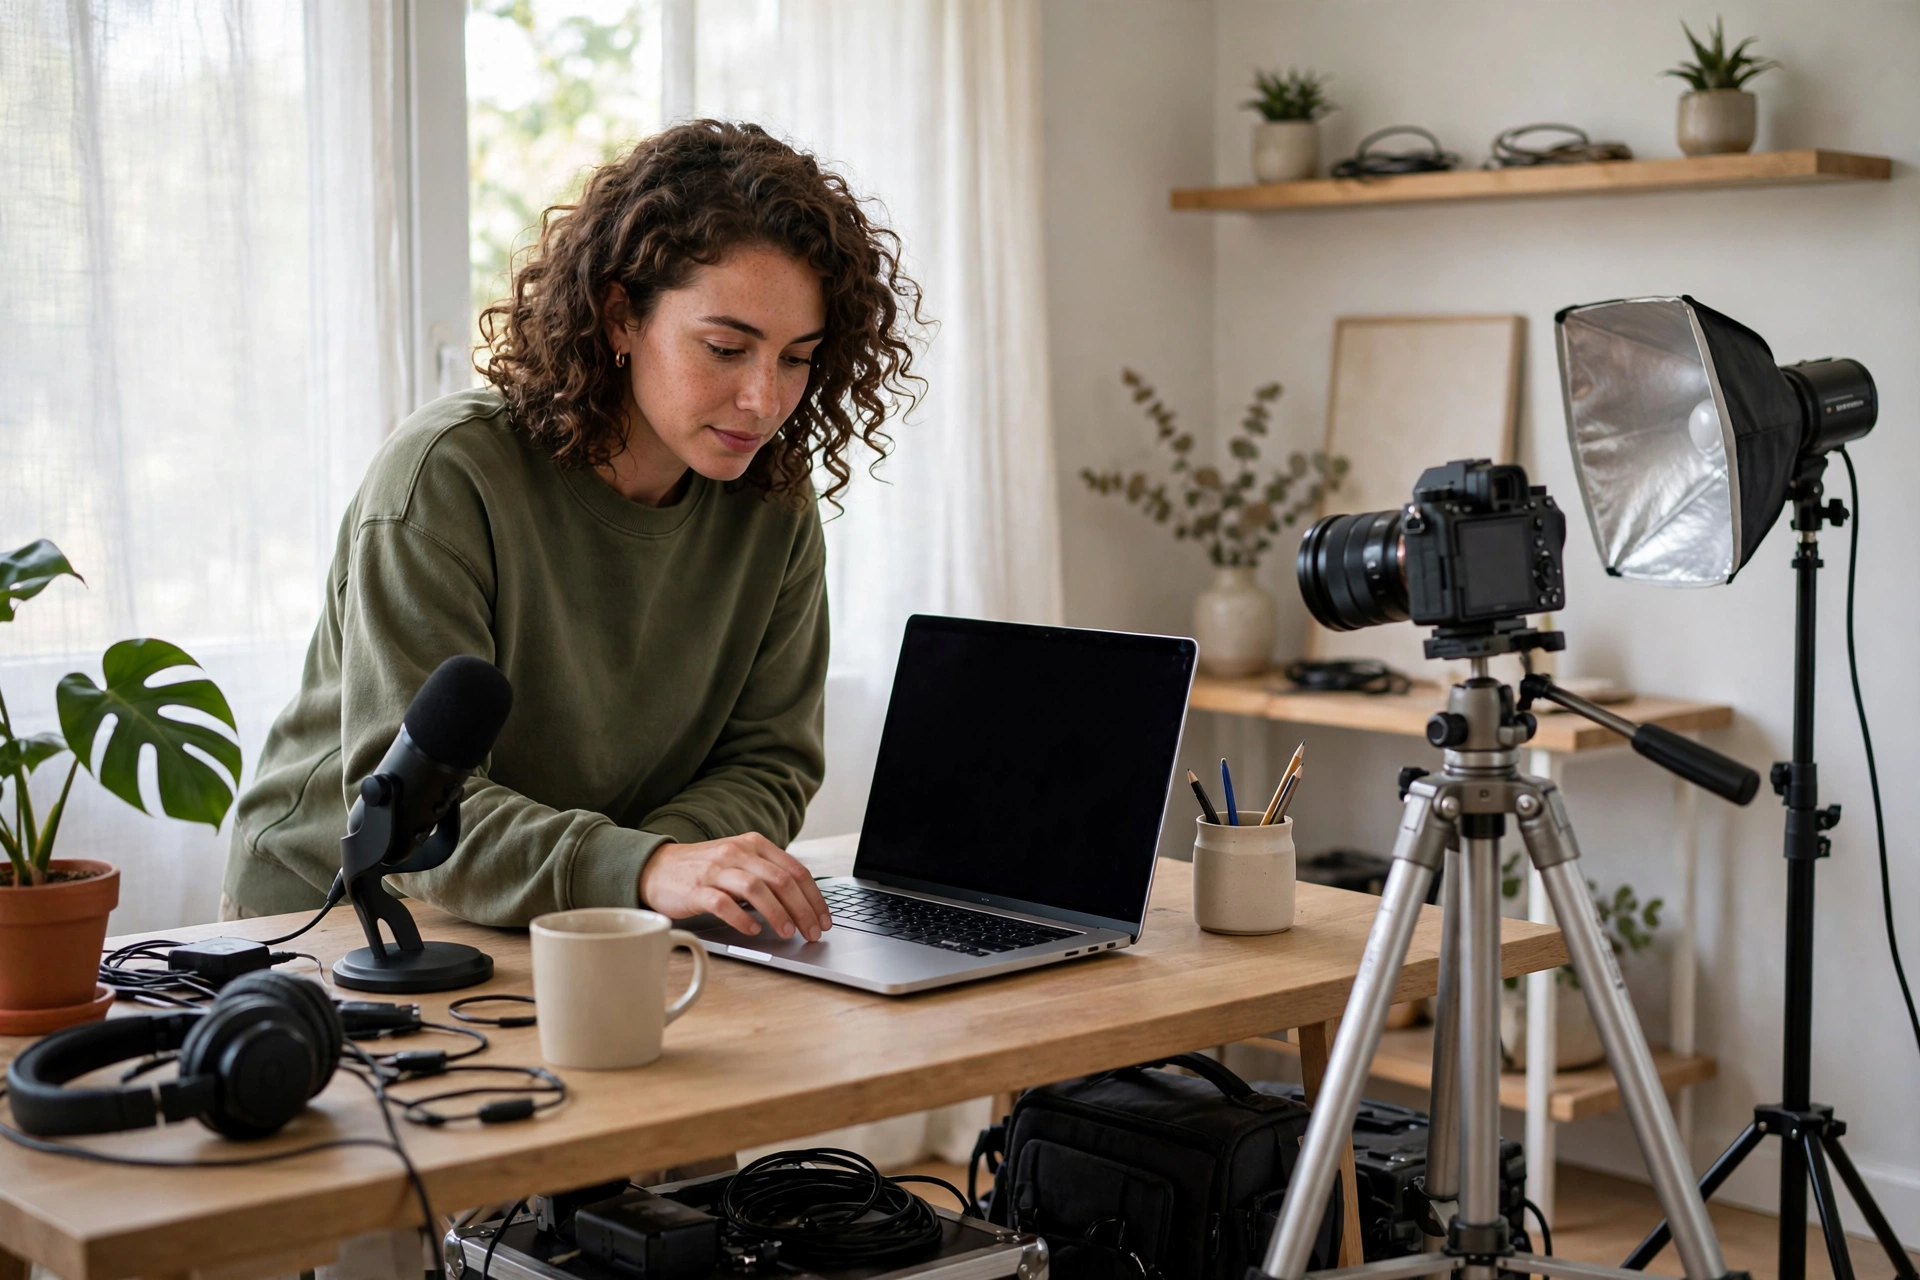
Before you upload, do a short test recording and watch it on your phone. Check that your face is lit, your voice is clear, and the framing looks right. Most first-video problems are fixed by moving closer to a window and speaking closer to the microphone, not by buying gear. Our guide to how to record better videos with a smartphone covers light, sound, stability, and settings in detail. For screen-recorded tutorials, our roundup of the best free screen recorders compares the free options.
The 30-day plan: four videos and a working system
Days 1–3: Setup. Choose the niche, create the channel, verify your phone number, turn on 2-Step Verification, and fill in the channel page. Write the four video outlines.
Days 4–10: Video 1. Script it in bullet points, record it, edit it simply (cut mistakes and long pauses), and upload it. Watch it once all the way through before publishing.
Days 11–17: Video 2. Record and publish. Note what took longest in video 1 and fix that one thing — better light, a shorter script, a cleaner setup.
Days 18–24: Video 3. By now you have a routine: outline, record, edit, upload. Keep a simple checklist so the routine is the same every time.
Days 25–30: Video 4 and review. Publish video 4, then look at the analytics for all four: which titles got clicked, where viewers stopped watching, which video brought subscribers. Use that to plan the next four — do more of what worked, and drop what did not.
One video per week is a sustainable pace for most beginners. Three per week from day one is how channels burn out by week three.
What not to buy yet
New creators often spend money before they have published a single video. Most of it is unnecessary at the start.
- A new camera. Your phone records good enough video for a first channel. Upgrade only when a specific limitation — not a feeling — is holding you back.
- A paid editing program. Free editors handle cutting, titles, and basic audio work.
- Lights and a microphone. A window and a quiet room beat expensive gear in a noisy, badly lit space. If you do spend anything early, spend it on audio.
- Growth services. A simple banner you make yourself is fine. Any service that promises subscribers or views is selling you numbers that do not watch, comment, or come back.
- A course. Free YouTube help pages teach the same basics. Spend the money after you have published ten videos and know what you actually need to learn.
The rule is simple: buy something only when you can name the exact problem it solves, and only after you have published enough videos to know the problem is real.
What about earning money?
It is reasonable to ask, but it should not drive your first month. The YouTube Partner Program — the way channels earn money from ads — requires 1,000 subscribers plus 4,000 watch hours in the past 12 months, or 10 million Shorts views in 90 days. Fan-funding features such as channel memberships open earlier, at 500 subscribers. 2-Step Verification on the Google account is required for the Partner Program.
Those numbers are milestones, not a promise. This guide does not promise any income or growth, and no honest guide can. Focus on the first 30 days: a clear niche, a finished channel page, and four useful videos.
Frequently asked questions
How much does it cost to start a YouTube channel?
Nothing. Creating a channel, uploading videos, and using YouTube Studio are free. Your only costs are the phone or camera you already own and your time.
How often should I upload?
Once a week is a realistic starting pace. Consistency matters more than frequency — one video every week for three months beats three videos in one week and then silence.
Can I change my channel name or handle later?
Yes, both can be changed. A handle can be changed at most twice within 14 days, so do not change it casually.
The bottom line
Starting a YouTube channel from scratch is five steps: a narrow niche, a created and verified channel, a finished channel page, four planned videos, and a weekly rhythm you can keep. The first 30 days are about building the habit, not chasing numbers. Publish four videos, learn from what the analytics tell you, and then plan the next four. Channels that last are built one sustainable week at a time.


2 thoughts on “How to Start a YouTube Channel From Scratch: Setup, First Videos and a 30-Day Plan”