
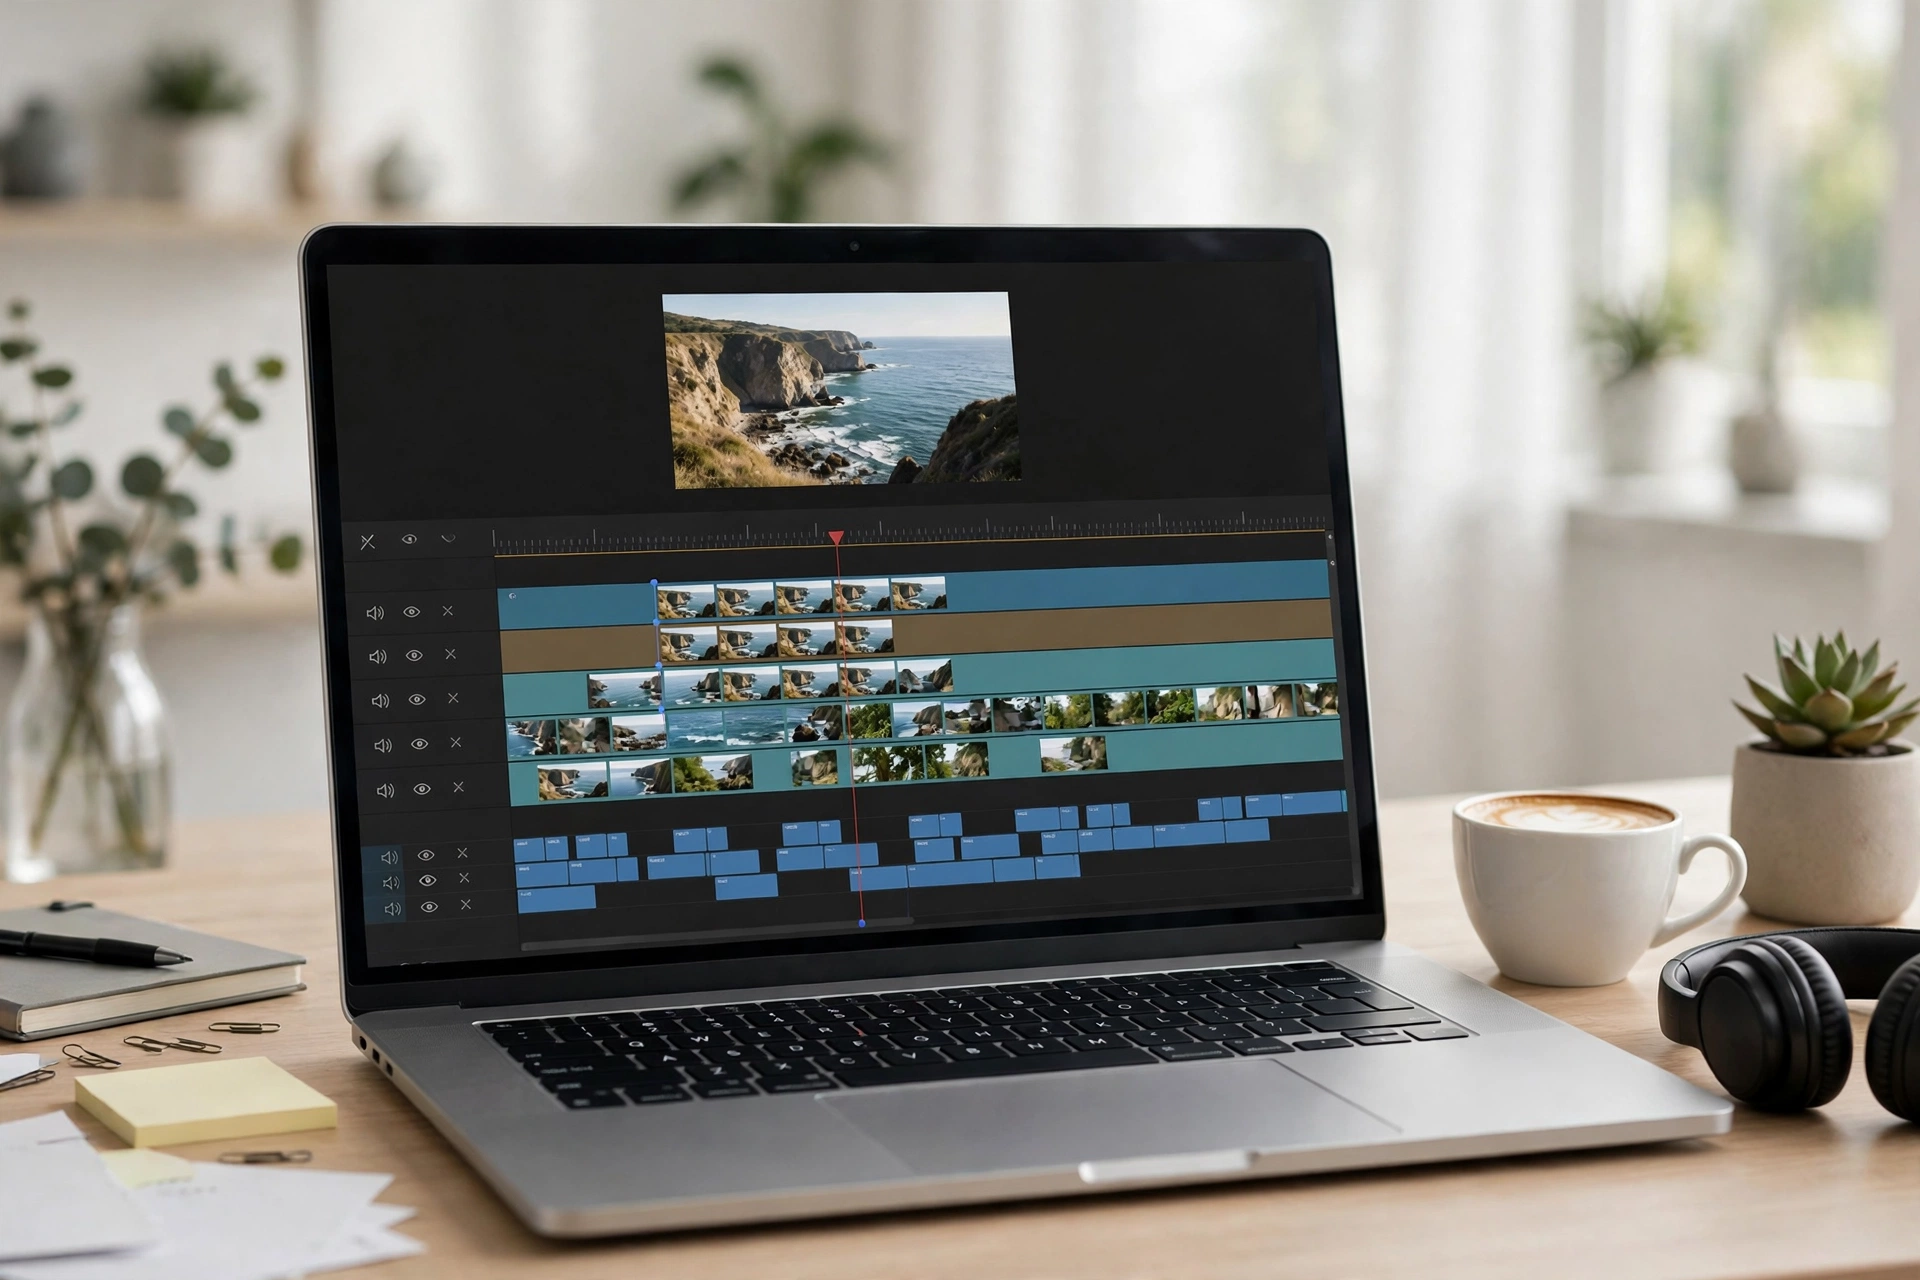
Introduction
A large share of people watch videos with the sound off — on a phone in a quiet room, on a crowded train, or while scrolling a feed at work. Others rely on captions to follow the content at all. Captions are no longer a nice extra; they are part of making a video watchable for everyone who finds it.
The good news is that adding captions costs nothing. Free tools can generate a first draft automatically, and the major platforms let you upload a caption file or fix the automatic version before anyone sees it. What takes a little care is the part the automation cannot do: correcting names, fixing punctuation, and checking that the words appear at the right moment.
This guide explains the two kinds of captions, when to use each one, and how to generate, edit, and export captions for free — plus a quality checklist to run before you publish.
Closed captions vs. burned-in captions: what is the difference?
Before you pick a tool, decide which kind of caption your video needs. They look similar on screen, but they behave very differently.
Closed captions are a separate, toggleable track. The words live in a sidecar file — usually an SRT or VTT file — that sits alongside the video. Viewers can turn them on or off, and in some cases choose a language. Search engines can also read the text in a caption file, which gives your video a small discoverability advantage. Closed captions are the right choice when the platform supports a separate caption track.
Open captions, also called burned-in captions, are part of the picture itself. The words are rendered into the video frames during export, so they are always visible and cannot be switched off. This is the right choice for feeds where there is no caption track to upload and most viewers watch with the sound off.
A simple rule of thumb:
- Use a sidecar SRT file for YouTube, Vimeo, and videos embedded on a website.
- Use burned-in captions for TikTok, Instagram Reels, and other short-form feeds.
Many creators use both: a burned-in version for the short-form cut and a sidecar caption file for the full video on YouTube.
What is an SRT file?
SRT is the most widely accepted caption format, and it is also the simplest to understand. It is a plain text file made of blocks. Each block has three parts: an index number, a timecode showing when the caption appears and disappears, and the caption text itself.
A single block looks like this:
1
00:00:03,500 --> 00:00:06,200
Welcome back to the channel.
That is the whole format. No special software is needed to open an SRT file — any text editor will do — and every major video platform and editor accepts it. When a tool offers to export captions, choosing SRT is almost always the safe option.
Method 1: Add captions on YouTube for free
If your video lives on YouTube, you do not need any extra software. YouTube Studio has built-in caption tools, and YouTube also generates automatic captions for many videos.
Upload a caption file
This is the most reliable method when you already have an SRT or VTT file from an editor or a captioning tool:
- Open YouTube Studio and select Subtitles in the left menu.
- Select the video you want to caption.
- Click Add language and choose the language of your video.
- Under Subtitles, click Add.
- Choose Upload file, then select With timing and pick your SRT, VTT, or SBV file.
- Review the captions, then click Publish.
The “With timing” option matters: it tells YouTube your file already contains timecodes, so YouTube should use them as they are. If your file has no timing information, the other upload option lets YouTube generate timing from your transcript.
Use Auto-sync
If you have a written transcript of your video but no timed caption file, Auto-sync is the middle option. Paste the transcript and YouTube times the words to the audio for you. This works well when the transcript is accurate and complete — it is essentially the same words you would put in an SRT, minus the timecodes.
Type captions manually
For a short video, you can type captions directly in YouTube Studio and set the timing yourself. This is slow, but it gives you complete control, and it is a reasonable choice for a video under two minutes when accuracy matters more than speed.
Fix YouTube’s automatic captions
YouTube auto-generates captions for many videos. Treat them as a first draft, not a finished product. Automatic captions frequently get names, technical terms, jargon, and accented speech wrong. Before you publish, open the automatic captions in YouTube Studio and proofread every line. A video with wrong captions is worse than a video with no captions, because viewers who rely on the text will read the wrong information and assume it is what you said.
If you are starting a channel and want the full publishing workflow around captions, our guide on how to start a YouTube channel from scratch covers titles, descriptions, and the upload checklist that captions sit alongside.
Method 2: Generate auto captions in CapCut
For short-form video — TikTok, Reels, Shorts — CapCut is one of the easiest free options. Its auto captions feature generates timed captions from the audio in your clip:
- Import your clip into CapCut and select it on the timeline.
- Open Text, then choose Auto captions.
- Select the spoken language and let CapCut generate the captions.
- Review the generated text line by line, correcting names, numbers, and punctuation, then adjust the font, size, color, and position so the text is readable on a phone screen.
- Export the video with the captions burned in.
Because CapCut burns the captions into the video, this method is ideal for feeds where a separate caption file cannot be uploaded. Keep the captions on screen long enough to read, and do not place them where the platform’s buttons and descriptions will cover them. If you are cutting a longer video down for these feeds, our guide on how to turn a long video into short clips explains how to keep the best moments intact.
Method 3: Use Clipchamp for captions and an SRT file
Clipchamp, Microsoft’s free video editor, takes a slightly different approach. It can generate automatic captions from your audio, burn them into an exported clip, and also hand you an SRT file you can use elsewhere. That combination is useful when you want one captioned version for social feeds and the same captions as a sidecar file for YouTube or your website — it saves you from generating captions twice for two platforms.
How to write captions that are easy to read
Automatic captions give you words and timing. Readability is your job. A few rules make a real difference:
- Keep captions to one or two lines. Long blocks of text are hard to read quickly and cover too much of the picture. Break a long sentence into two shorter captions instead.
- Keep up with the speaker, not ahead of them. A caption should appear when the words are spoken, not seconds early.
- Check names, numbers, and punctuation. These are the things automatic captions get wrong most often: a person’s name, a product name, a price, a date. A wrong number in a caption is a factual error in your video.
- Use punctuation the way you would in writing. Commas and periods help viewers parse a sentence at a glance.
- Keep captions away from platform buttons. On short-form feeds, the like, comment, and share buttons sit on the right side, and the video description sits at the bottom. Place captions where they will not be covered.
- Do not rely on captions to fix bad audio. If your audio is muffled or full of background noise, the automatic captions will be wrong more often. Our guide on how to record better videos with a smartphone covers microphone placement and quiet recording locations.
Caption quality checklist
Run through this list before you publish any captioned video:
- Accuracy: Every word is correct, including names, technical terms, numbers, and dates.
- Timing: Each caption appears and disappears in sync with the speech, and no caption lingers after the speaker has moved on.
- Readability: Captions are one or two lines, in a font and size that are easy to read on a phone, with enough contrast against the background.
- Placement: Captions are clear of platform buttons, the video description, and any on-screen graphics or lower thirds.
- Completeness: The whole video is captioned, including the introduction and the outro — not just the middle section.
- Spelling and punctuation: Commas, periods, and capital letters are in place; there are no obvious typos.
- File check: If you uploaded an SRT or VTT file, play the video back on the platform and confirm the captions appear correctly, rather than assuming the upload worked.
Frequently asked questions
Do I need to pay for captions?
No. YouTube Studio, CapCut, and Clipchamp all offer free caption generation and editing. Paid services exist for faster turnaround or human-reviewed transcripts, but they are optional, not required.
Can I add captions to a video after publishing it?
On YouTube, yes — you can add, edit, or replace captions on a published video at any time from YouTube Studio. For short-form platforms, you generally need to re-upload, because the captions are burned into the video file.
Should I use auto captions or write them myself?
Use auto captions as a starting point and edit them yourself. The automatic version saves most of the typing, and your proofreading fixes the errors the automation makes. Writing every caption from scratch is only worth it for very short videos.
The bottom line
Adding captions for free is a three-step habit: generate a draft with a free tool, correct the words and the timing yourself, and export or upload the result in the right format for the platform. Use a sidecar SRT file for YouTube, Vimeo, and your website, and burned-in captions for TikTok, Reels, and other short-form feeds. The automation does the heavy lifting, but the proofread is what makes the captions trustworthy — run the quality checklist, watch the video back with the captions on, and only then publish.





1 thought on “How to Add Captions to Videos for Free: Auto Captions, Editing and Export”