Introduction
The phone in your pocket records video that would have required a professional camera and a crew not long ago. Yet most smartphone videos still look and sound amateur — shaky, dark, washed out, or muffled. The gap is rarely the phone. It is the setup: where the light is, where the microphone is, whether the phone is steady, and whether the settings match what you are filming.
Better smartphone video is not about buying accessories. It is about a repeatable setup you run through before every recording. Light first, sound second, stability third, settings fourth. Get those four right and your videos will look and sound noticeably better with the phone you already own.
Light matters more than the phone model
If you remember one thing from this guide, make it this: light matters more than the phone model. A three-year-old phone in good light produces better video than the newest phone in a dark room. Cameras do not create light; they record it. Give them enough of it, and everything else gets easier — focus is sharper, colors look right, and the image has less noise.
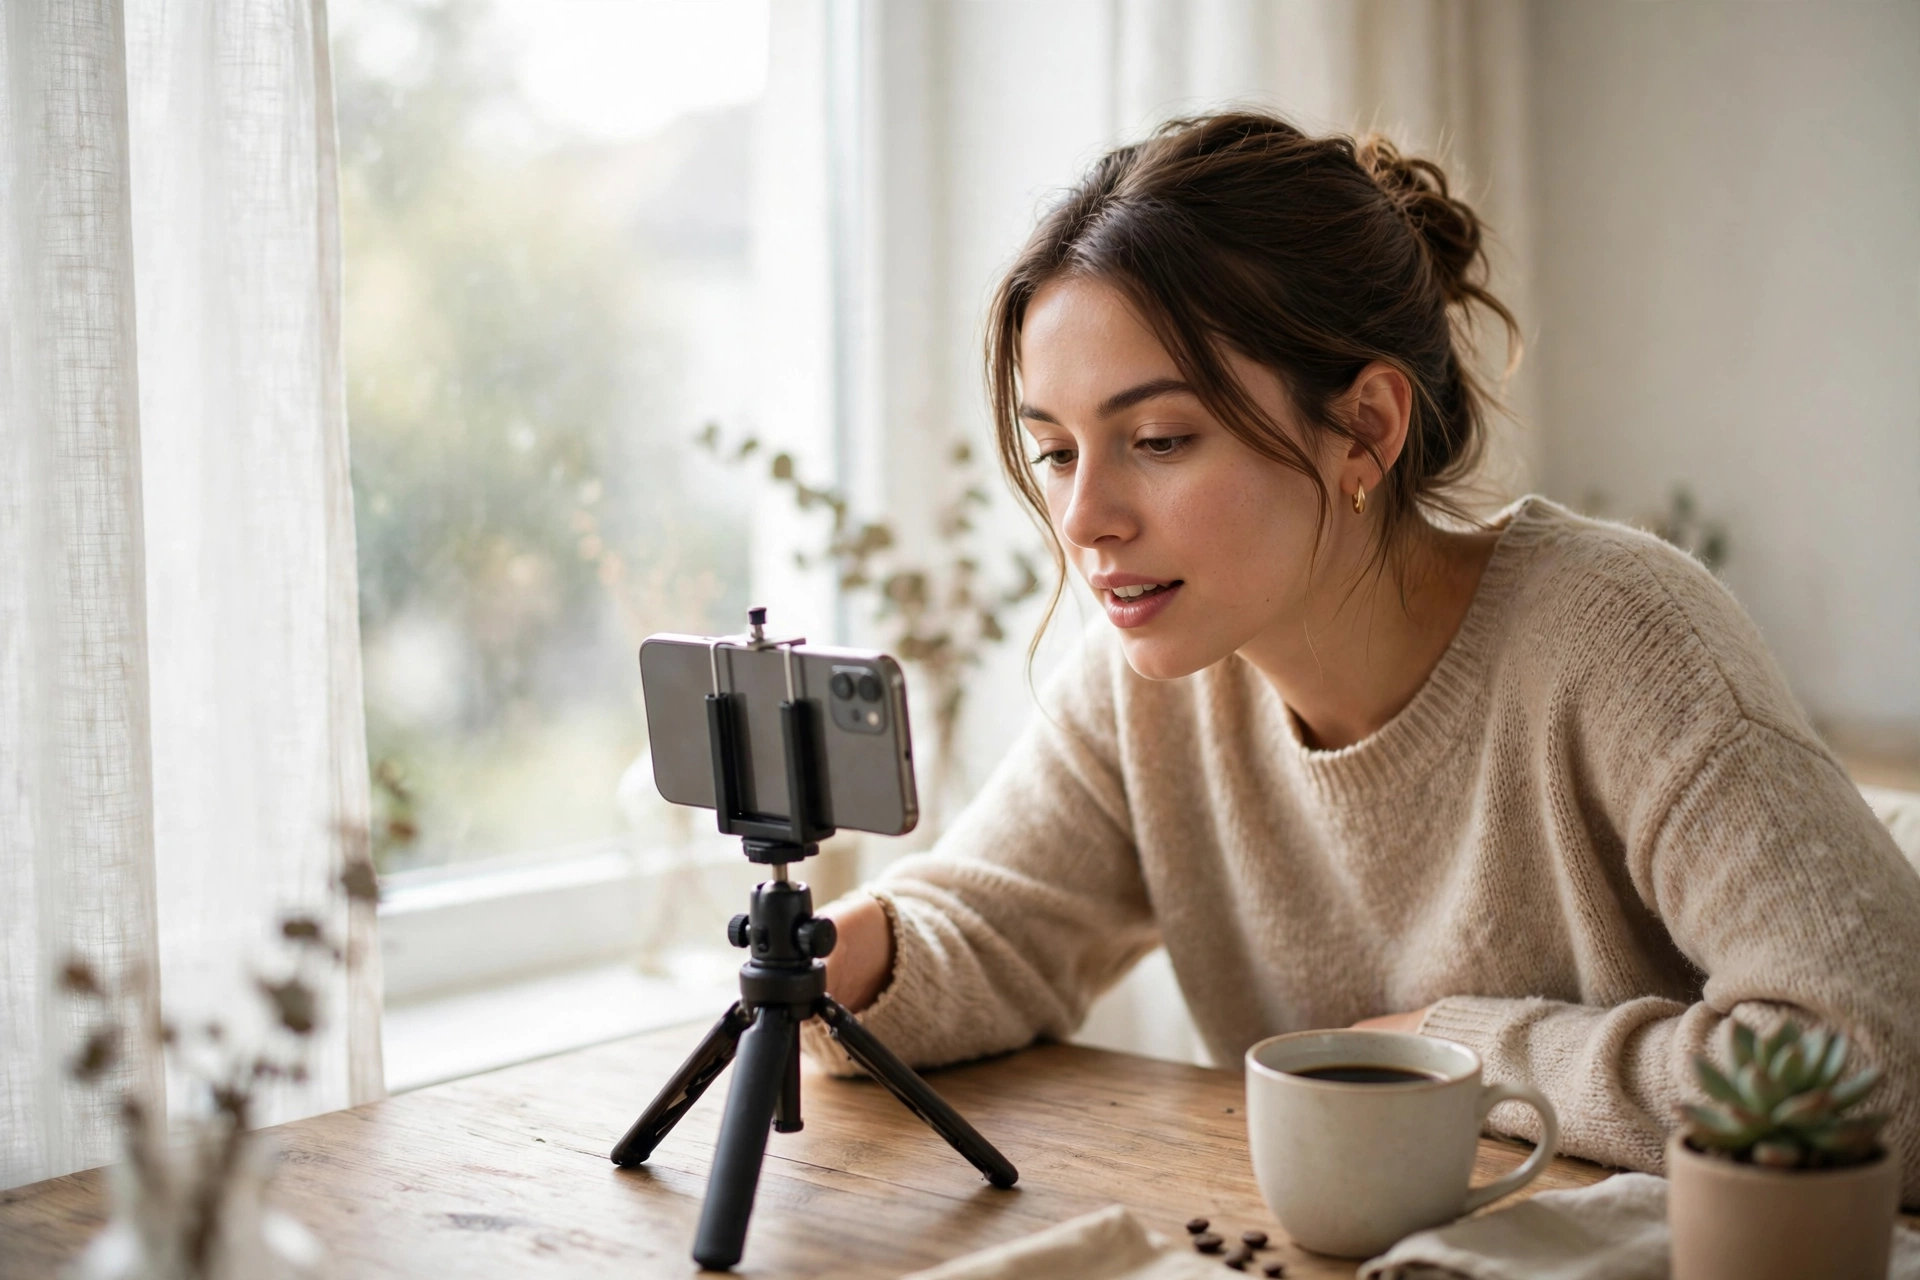
Face soft natural light. The best free light source you have is a window on a cloudy day, or a window with indirect sunlight. Stand facing the window so the light falls on your face, and put the phone between you and the window.
Avoid harsh midday sun. Direct overhead sun creates hard shadows under your eyes and nose and forces your phone to choose between a blown-out sky and a dark face. If you must film outdoors at midday, move into open shade — under a tree or an awning — where the light is bright but indirect.
Avoid mixed lighting. A room lit by both a warm lamp and cool daylight forces the camera to pick one color temperature, and the other light source looks wrong. Use one main light source when you can.
Do not film with a bright window behind you. The phone will expose for the bright window and turn you into a silhouette. Either turn around so the window lights your face, or close the curtain to even out the brightness.
Clean the lens first. A fingerprint on the lens softens the whole image and creates flare around bright lights. Wipe the lens with a soft cloth before every shoot. It takes five seconds and it is the most common fix in smartphone video.
Sound: viewers forgive average video but abandon poor audio
People will watch a slightly soft or shaky video if the speaker is interesting. They will not sit through muffled, echoey, or noisy audio. Sound is the single biggest reason viewers click away from a new creator’s video, and it is the easiest thing to improve.
Get the microphone close to the speaker. Sound quality falls off fast with distance. If you are filming yourself talking, hold the phone closer or move it nearer — an arm’s length away is far better than across the room. When the phone is your microphone, distance is the enemy.
Use an external microphone when you can. A basic plug-in microphone — even an inexpensive lavalier that clips to a shirt — is a large upgrade over the built-in mic, especially outdoors or in a room with echo. A microphone that sits close to the speaker, in a quiet room, beats a built-in mic every time.
Choose a quiet location. Turn off fans, air conditioning, and anything that hums or buzzes before you record. Close windows facing a busy road. Clap once and listen to the room: if you hear echo, move closer to soft furniture, curtains, or a carpeted area.
Test the audio before the real take. Record ten seconds, play it back through earphones, and listen for wind noise, hum, handling noise, or your own voice being too quiet. It is far cheaper to catch a bad microphone placement in a test clip than to discover it after a twenty-minute recording.
Stability: keep the phone still
Shaky footage is the fastest signal that a video was made casually. The fix is simple and mostly free.
Use a tripod or prop the phone up. A small phone tripod costs little and solves the problem completely for talking-head videos, tutorials, and anything where the camera does not move. If you do not have one, prop the phone against a stack of books, a mug, or a shelf — anything that holds it still at the right height.
Hold the phone with both hands if you must handhold. Tuck your elbows against your body, keep your arms close, and move slowly. Short, deliberate movements look far better than constant small corrections.
Use the rear camera when practical. The rear camera generally records at higher quality than the front camera, with a better sensor and lens. If you are filming someone else, or a scene, or a product, use the rear camera. Use the front camera when you need to see yourself while recording — the quality difference is usually acceptable for talking-head videos.
Avoid digital zoom. Digital zoom crops the image and enlarges it, which throws away detail and makes the picture soft and noisy. If you want a closer shot, move closer instead. Optical zoom on phones with a dedicated telephoto lens is different — that uses a separate lens and keeps quality — but the standard pinch-to-zoom on most phones is digital and best avoided.
Use slow, planned movements. If the camera moves, move it for a reason, and move it slowly. A slow pan across a scene looks deliberate; a fast, jerky one looks accidental. Plan the movement before you press record.
Focus and exposure: lock them before you record
Smartphone cameras autofocus and auto-expose constantly, which is useful for snapshots and terrible for video. Mid-recording, the phone may refocus on the background or brighten and darken as you move. Lock both before you start.
Lock focus and exposure with a long press on the subject. On most phones, tapping and holding on the subject on screen locks focus and exposure (often shown as “AE/AF Lock”). Do this after you have framed the shot and before you press record. If you move or the light changes, lock again.
Tap to set exposure, then adjust. After tapping on your subject, most phones show a slider to raise or lower brightness. Set it so the subject’s face is well exposed, even if the background is slightly bright or dark.
Framing: put the subject where the eye expects it
Good framing is mostly about not making simple mistakes.
- Eye level, not from below. Put the phone at eye level or slightly above. Filming from below makes the subject look unnatural and shows the ceiling.
- Leave headroom, but not too much. A small gap above the head is right. A large empty space above the head looks like a mistake.
- Look into the lens, not at the screen. When you talk to the camera, look at the lens — that is where the viewer is. Looking at your own image on the screen makes your gaze drift.
- Use the rule of thirds as a starting point. Turn on the grid lines in your camera settings. Place the subject’s eyes near the top horizontal line, and the subject slightly off-center.
- Keep the background simple. A plain wall, a tidy shelf, or a softly lit room beats a cluttered background. Remove anything distracting behind the subject before you record — it is easier than editing it out later.
Settings: resolution and frame rate by use case
Two settings matter most: resolution and frame rate. Resolution is the size of the image; frame rate is how many frames the camera records per second.
- 1080p is 1920 × 1080 pixels. It is the everyday standard, looks good on phones and laptops, and uses far less storage than 4K.
- 4K is 3840 × 2160 pixels. It is four times the pixels of 1080p and gives you room to crop or reframe the shot in editing without losing quality. But it uses much more storage and battery, and makes editing slower on older devices.
- 24 fps looks cinematic, with a slight motion blur that feels like a film.
- 30 fps is the everyday standard, smooth and natural for talking, tutorials, and vlogs.
- 60 fps suits action and smooth slow motion. It records twice as many frames, so movement looks fluid and you can slow it down in editing without stutter.
Clean, well-lit 1080p often beats poorly lit 4K. Choose 4K when you need the cropping room or the final video will be watched on a large screen; choose 1080p when storage, battery, or editing speed matters more.
Settings table by use case
| Use case | Resolution | Frame rate | Notes |
|---|---|---|---|
| Everyday talking head, vlog, tutorial | 1080p | 30 fps | Best balance of quality, storage, and editing speed |
| Cinematic short or brand video | 4K | 24 fps | Film-like motion blur; needs good light and a tripod |
| Action, sport, or fast movement | 1080p or 4K | 60 fps | Smooth motion; slow it down in editing for slow-motion shots |
| Low light indoors | 1080p | 30 fps | Lower resolution means less noise; add light rather than raising resolution |
| Video you plan to crop or reframe | 4K | 30 fps | The extra pixels give you room to zoom and reframe in editing |
| Quick social clip for a phone screen | 1080p | 30 fps | 4K adds little on a small screen and costs storage |
File format and storage: do not run out mid-shoot
Video files are large, and a phone that runs out of storage mid-recording ruins the take.
- Check storage before every shoot. A few minutes of 4K can use several gigabytes. Free up space or move old videos to a computer or cloud storage before you start.
- Use HEVC (H.265) when your phone offers it. HEVC files are roughly 40–50% smaller than H.264 files at similar quality. The trade-off is that older devices and some editing programs handle H.264 more easily, so if your editor struggles with HEVC, switch back to H.264.
- Check battery. Recording, especially in 4K, drains the battery fast. Start with a full charge, and plug in if you are filming a long session on a tripod.
- Enable Do Not Disturb. A phone call or notification in the middle of a take interrupts the recording and can ruin the audio.
The pre-record checklist, ordered by impact
Run this before every shoot. It takes about two minutes and prevents the most common failures.
- Clean the lens and check the screen for smudges.
- Check storage and battery — enough space for the whole recording, and enough charge to finish it.
- Enable Do Not Disturb so calls and notifications cannot interrupt the take.
- Set up the light — face soft natural light, avoid harsh sun and mixed lighting.
- Frame the subject — phone at eye level, subject in focus, background tidy, grid lines on.
- Lock focus and exposure with a long press on the subject.
- Test the microphone — record a short test clip, play it back through earphones, and check the audio.
- Record a short test clip and watch it once before the real take — check light, framing, focus, and sound together.
- Press record and pause for two seconds before speaking, so the editor has clean audio to cut from at the start.
If the test clip looks and sounds good, the real take will too. If something is wrong in the test, fix it now — never hope it will improve during the recording.
After the recording: a quick pass before you publish
After you record, watch the test clip and the first minute of the real take. Check that the audio stays consistent and the exposure does not drift. Add captions — many viewers watch without sound, and captions make videos accessible. Our guide to how to add captions to videos for free covers free options that work with phone-recorded video. If your video includes a screen recording, record the screen separately with a dedicated tool rather than pointing your phone at a monitor. Our roundup of the best free screen recorders compares the free options.
Frequently asked questions
Is 1080p good enough for YouTube?
Yes. Clean, well-lit 1080p at 30 fps looks good on phones, laptops, and most TVs. 4K helps when you need cropping room or your audience watches on large screens, but it is not a requirement for a good-looking video.
Should I use the front or rear camera?
Use the rear camera when practical — it generally records at higher quality. Use the front camera when you need to see yourself while recording, such as a selfie-style talking-head video. The quality gap is small compared to the difference good light and audio make.
Why does my video look noisy or grainy?
Almost always because there is not enough light. The camera raises its sensitivity to compensate, and that creates noise. Add light — move closer to a window or into a brighter room — before changing any setting.
What is the best frame rate for a talking video?
30 fps. It is the everyday standard, looks natural, and uses less storage than 60 fps. Save 24 fps for cinematic pieces and 60 fps for action or slow motion.
The bottom line
Better smartphone video comes from a setup, not a purchase: soft light on the subject’s face, a microphone close to the speaker, a steady phone, locked focus and exposure, and a two-minute checklist before every shoot. Light matters more than the phone model, sound matters more than picture quality, and a short test clip catches almost every problem before it costs you a take. Once the setup is a habit, it takes two minutes — and the difference in the finished video is obvious from the first frame.