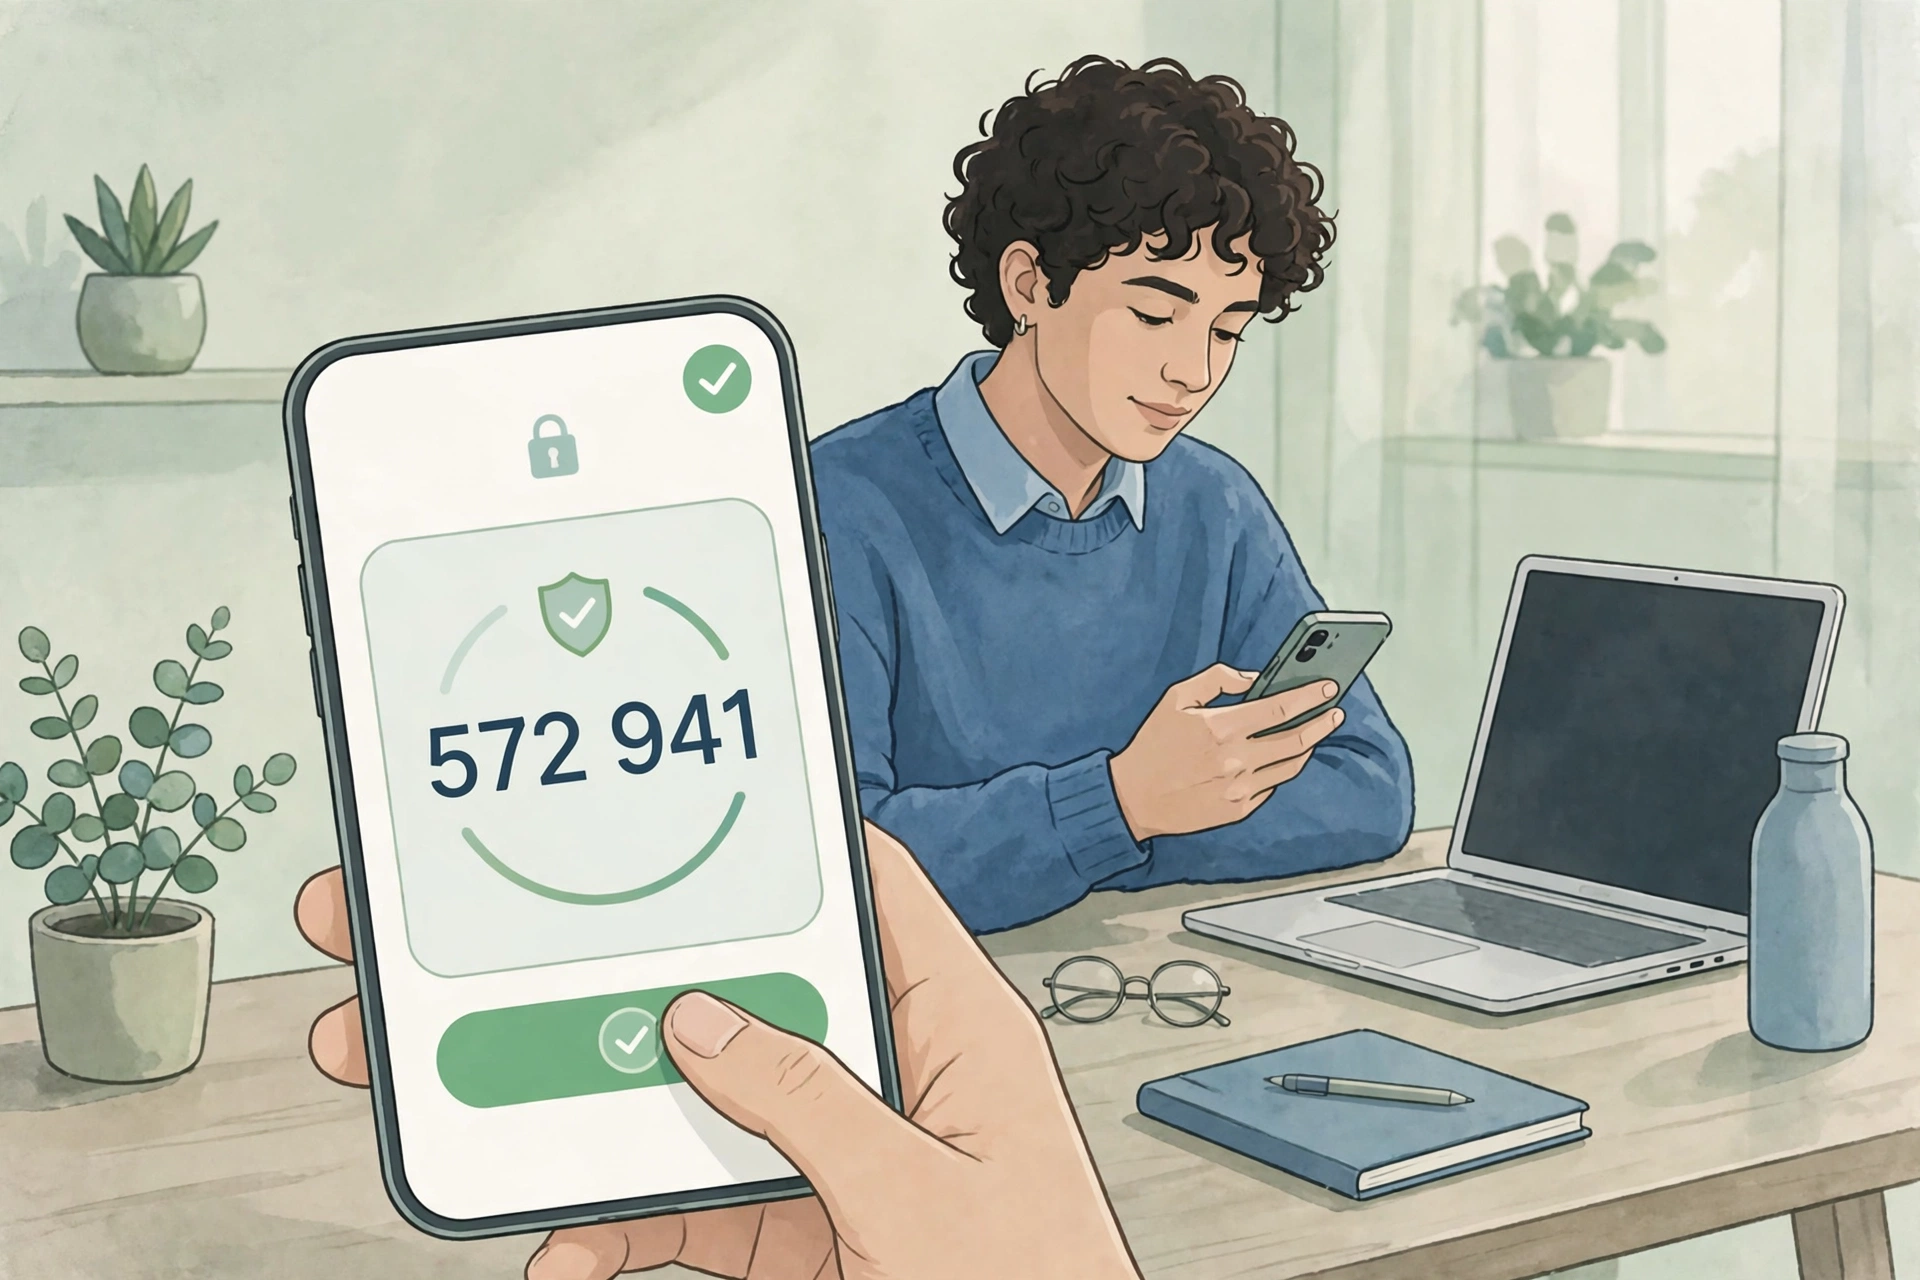
A password alone is not enough anymore. Passwords get phished, guessed, and spilled in breaches — and once an attacker has yours, nothing stops them signing in as you. Two-factor authentication (2FA) adds a second check: after your password, you must confirm it is really you, with a code from an app, a tap on your phone, or a physical security key.
The difference it makes is large. Google’s published security findings show that adding a second factor blocks automated bot attacks and the great majority of bulk phishing attempts. Setup takes about ten minutes per account. This guide shows you which method to choose, which accounts to protect first, and how to set it up on Google, Apple, and Microsoft — plus how to save backup codes so a lost phone never locks you out.
How 2FA works
Two-factor authentication means signing in with two separate proofs. The first is something you know: your password. The second is something you have (your phone, an authenticator app, a security key) or something you are (your fingerprint or face, through a passkey).
The order matters: the second factor must be something an attacker cannot get just by stealing your password. That is why the method you choose matters as much as turning 2FA on at all.
Which 2FA method should you choose?
Not all second factors are equal. Prefer them in this order:
- Passkey or security key — strongest. A passkey or a hardware key such as a YubiKey is phishing-resistant by design: it only works on the real site. Use this for your most important accounts — email, password manager, banking — if the service offers it. Our passkeys vs passwords guide explains the trade-offs, including recovery.
- Authenticator app — the best balance for most people. Apps such as Google Authenticator, Microsoft Authenticator, and Authy generate a fresh six-digit code every 30 seconds, directly on your device. The codes work offline, cost nothing, and cannot be intercepted the way text messages can. This is the right default for everyday accounts.
- Push approval — convenient where offered. Some services send a “Was this you?” prompt to your phone, which you approve with a tap. Microsoft Authenticator, Google prompts, and Apple device approvals all work this way.
- SMS text codes — backup only. Text-message codes work on any phone and are easy to set up, but they can be intercepted through SIM swapping, where an attacker convinces your carrier to move your number to their SIM. Use SMS only when a service offers nothing better, and ask your carrier to add a port-out PIN or transfer lock to your number.
You do not have to pick only one method forever. Many accounts let you add a passkey and keep an authenticator app as a backup. Do that for email and banking first — those accounts unlock everything else.
What you need before you start
Gather three things before enabling 2FA anywhere:
- A strong, unique password for each account. If your password is weak or reused, 2FA helps, but a password manager that generates and stores unique passwords is the foundation. See our guide to creating strong passwords.
- One authenticator app installed. Google Authenticator, Microsoft Authenticator, or Authy are all free and reliable. Pick one primary app and stick to it, so you are not hunting through five apps during a lockout. Authy’s encrypted multi-device backup makes recovery easier if you lose your phone; Microsoft Authenticator offers cloud backup and sync; Google Authenticator added cloud sync in 2023.
- A plan for storing backup codes. When you enable 2FA, most services generate a set of single-use backup codes — usually 8 to 16 of them. Save them in your password manager or as a printed copy in a safe place. Skipping this step is the most common 2FA mistake: without backup codes, losing your phone can mean losing the account.
Which accounts to protect first
Do not try to enable 2FA everywhere in one sitting. Work in this order:
- Your primary email account. It controls password resets for every other account. If an attacker owns your email, they can reset everything else.
- Your password manager. It holds all your other passwords — protect it with the strongest method available, ideally a security key or passkey.
- Your bank and payment accounts. Enable the strongest second factor your bank offers.
- Your cloud storage and social media accounts. These hold your photos, documents, and identity.
- Everything else that offers it. Shopping, work tools, and forums — work through them over a week or two.
How to turn on 2FA for Google
- Go to myaccount.google.com and sign in.
- Select Security, then under “How you sign in to Google,” select 2-Step Verification and click Get started.
- Google will ask you to add a phone number first and verify it with a text code. This is a starting step, not the method you should rely on daily.
- Back on the 2-Step Verification page, add a stronger second step: create a passkey on your device, or under Authenticator app, click Set up authenticator, scan the QR code with your authenticator app, and enter the six-digit code to confirm.
- Save your backup codes — Google generates a set of eight-digit codes. Store them in your password manager or a safe place.
How to turn on 2FA for Apple ID
Apple calls it two-factor authentication for your Apple ID, and it is built into your devices — no separate app is needed.
- On your iPhone, go to Settings → [your name] → Sign-In & Security → Two-Factor Authentication and turn it on. On a Mac, use System Settings → Apple ID → Sign-In & Security.
- Confirm a trusted phone number. When you sign in on a new device, a six-digit code appears on your existing iPhone or Mac automatically.
- Keep at least two trusted devices, or a trusted number you control, so a single lost device never locks you out.
How to turn on 2FA for Microsoft
- Go to account.microsoft.com/security and sign in.
- Select Advanced security options, then under Two-step verification, click Turn on.
- Choose Use an app and set up Microsoft Authenticator (or any authenticator app) by scanning the QR code and entering the verification code.
- Confirm your phone number as a backup method, and download the recovery code shown at the end. Save it like you saved the Google one.
How to turn on 2FA on other services
The pattern is the same almost everywhere: sign in, open Settings → Security (sometimes labelled Privacy, Account, or Login), find Two-factor authentication or Two-step verification, choose Authenticator app rather than SMS if both are offered, scan the QR code, enter the first code to confirm, and save the backup codes immediately.
For banks, the steps vary more, and in the US most major banks still default to SMS-based codes. Turn on whatever your bank offers, and ask the bank whether an authenticator app or a hardware key is supported — support is improving, and the question itself signals demand.
If you lose your phone
This is the scenario backup codes exist for. Use a saved backup code to sign in, then remove the lost phone from your account’s trusted devices and set up the authenticator app on your new phone. If you use an authenticator with multi-device sync, such as Authy or Microsoft Authenticator, you can recover your codes by signing in on a second device you already registered.
If you have no backup codes and no synced authenticator, use the account’s recovery process — usually an emailed link or an identity check — and expect it to take time. That delay is the price of the protection. After you regain access, save backup codes properly before anything else.
Common mistakes to avoid
- Skipping backup codes. The single most common lockout cause. Save them the moment you enable 2FA, not later.
- Using SMS where an authenticator app is offered. SMS is better than nothing, but it is the weakest method — upgrade when you can.
- Setting up 2FA in five different apps. One primary authenticator, used everywhere, is easier to recover and harder to lose track of.
- Protecting unimportant accounts first. Start with email, password manager, and banking. A forum account can wait; your inbox cannot.
- Sharing codes with anyone. A real support agent will never ask for your 2FA code. Anyone who does is running a phishing attempt — see our phishing guide for the other warning signs.
The bottom line
Two-factor authentication is the highest-value security step most people have not taken. Start with your email account, use an authenticator app or a passkey rather than SMS, and save your backup codes before you need them. Ten minutes per account buys protection that a password alone cannot offer.