Introduction
A Reel is a vertical video on Instagram, made of one clip or several, that you record in the app or upload from your camera roll. It is the format most people now meet first when they discover a new account, and it is also the most forgiving format to start with: you do not need a camera, editing software, or an audience. A phone, a clear idea, and ten focused minutes are enough for a first one.
This guide is an end-to-end workflow, not a list of tips. It takes you from planning a 30-second idea, through recording and editing inside Instagram, to captions, a cover, and publishing — with the length limits and settings that apply right now. If you already have longer videos, our guide on how to turn a long video into short clips shows how to cut them down for this format first.
Before you record: the limits that shape your plan
Instagram’s Help Center states that you can record and edit Reels up to 20 minutes long, built from one clip or several. That is the technical ceiling, not a target. The number that matters more for a beginner is 3 minutes: Reels longer than 3 minutes are not recommended to people who do not follow you yet, so they mainly reach your existing audience.
For a first Reel, aim for 15 to 60 seconds. That range is long enough for a tutorial, a before-and-after, or a quick story, and short enough that a new viewer can finish it. Instagram’s own 2026 creator guidance suggests matching length to the idea: 3 to 15 seconds for quick transitions and punchy one-liners, 15 to 60 seconds for tutorials and day-in-the-life clips, and 60 seconds to 3 minutes for longer walkthroughs.
Two more specs to lock in before you shoot:
- Format: vertical 9:16, exported at 1080 x 1920 pixels. Anything else gets cropped or letterboxed.
- Frame rate: 30 frames per second is a safe default; 60 fps works for slow-motion shots.
Keep your subject centred, and leave space at the top and bottom of the frame — the Instagram interface covers the edges with the caption, buttons, and progress bar.
Step 1: Plan the Reel in one sentence and a shot list
Every Reel that holds attention answers one question in its first two seconds: what will I get if I keep watching? Write that promise as a single sentence before you touch the camera. “Three ways to fold a fitted sheet” works. “My morning routine” does not, because it promises nothing specific.
Then write a shot list — three to five shots, in order, each with one line of what happens:
- Hook shot (0–3 seconds): the finished result, the surprising moment, or the question on screen as text.
- Middle shots: the steps, the process, or the story, one idea per shot.
- Closing shot (last 3 seconds): the payoff — the result, the answer, or a clear next step.
A shot list also saves you from the most common beginner mistake: filming for ten minutes and then trying to find a Reel inside the footage. If a shot is not on the list, you probably do not need it.
If you are filming yourself talking, write the first line of your script word for word. The first line is the hook, and improvising it on camera is how most Reels lose viewers before the third second. The rest can be bullet points.
Step 2: Set up the shot
Good Reels are mostly good light and steady framing. Stand facing a window or film outdoors in open shade — never with a bright window behind you, which turns you into a silhouette. Wipe the camera lens; a smudged lens is the single most common reason phone footage looks soft.
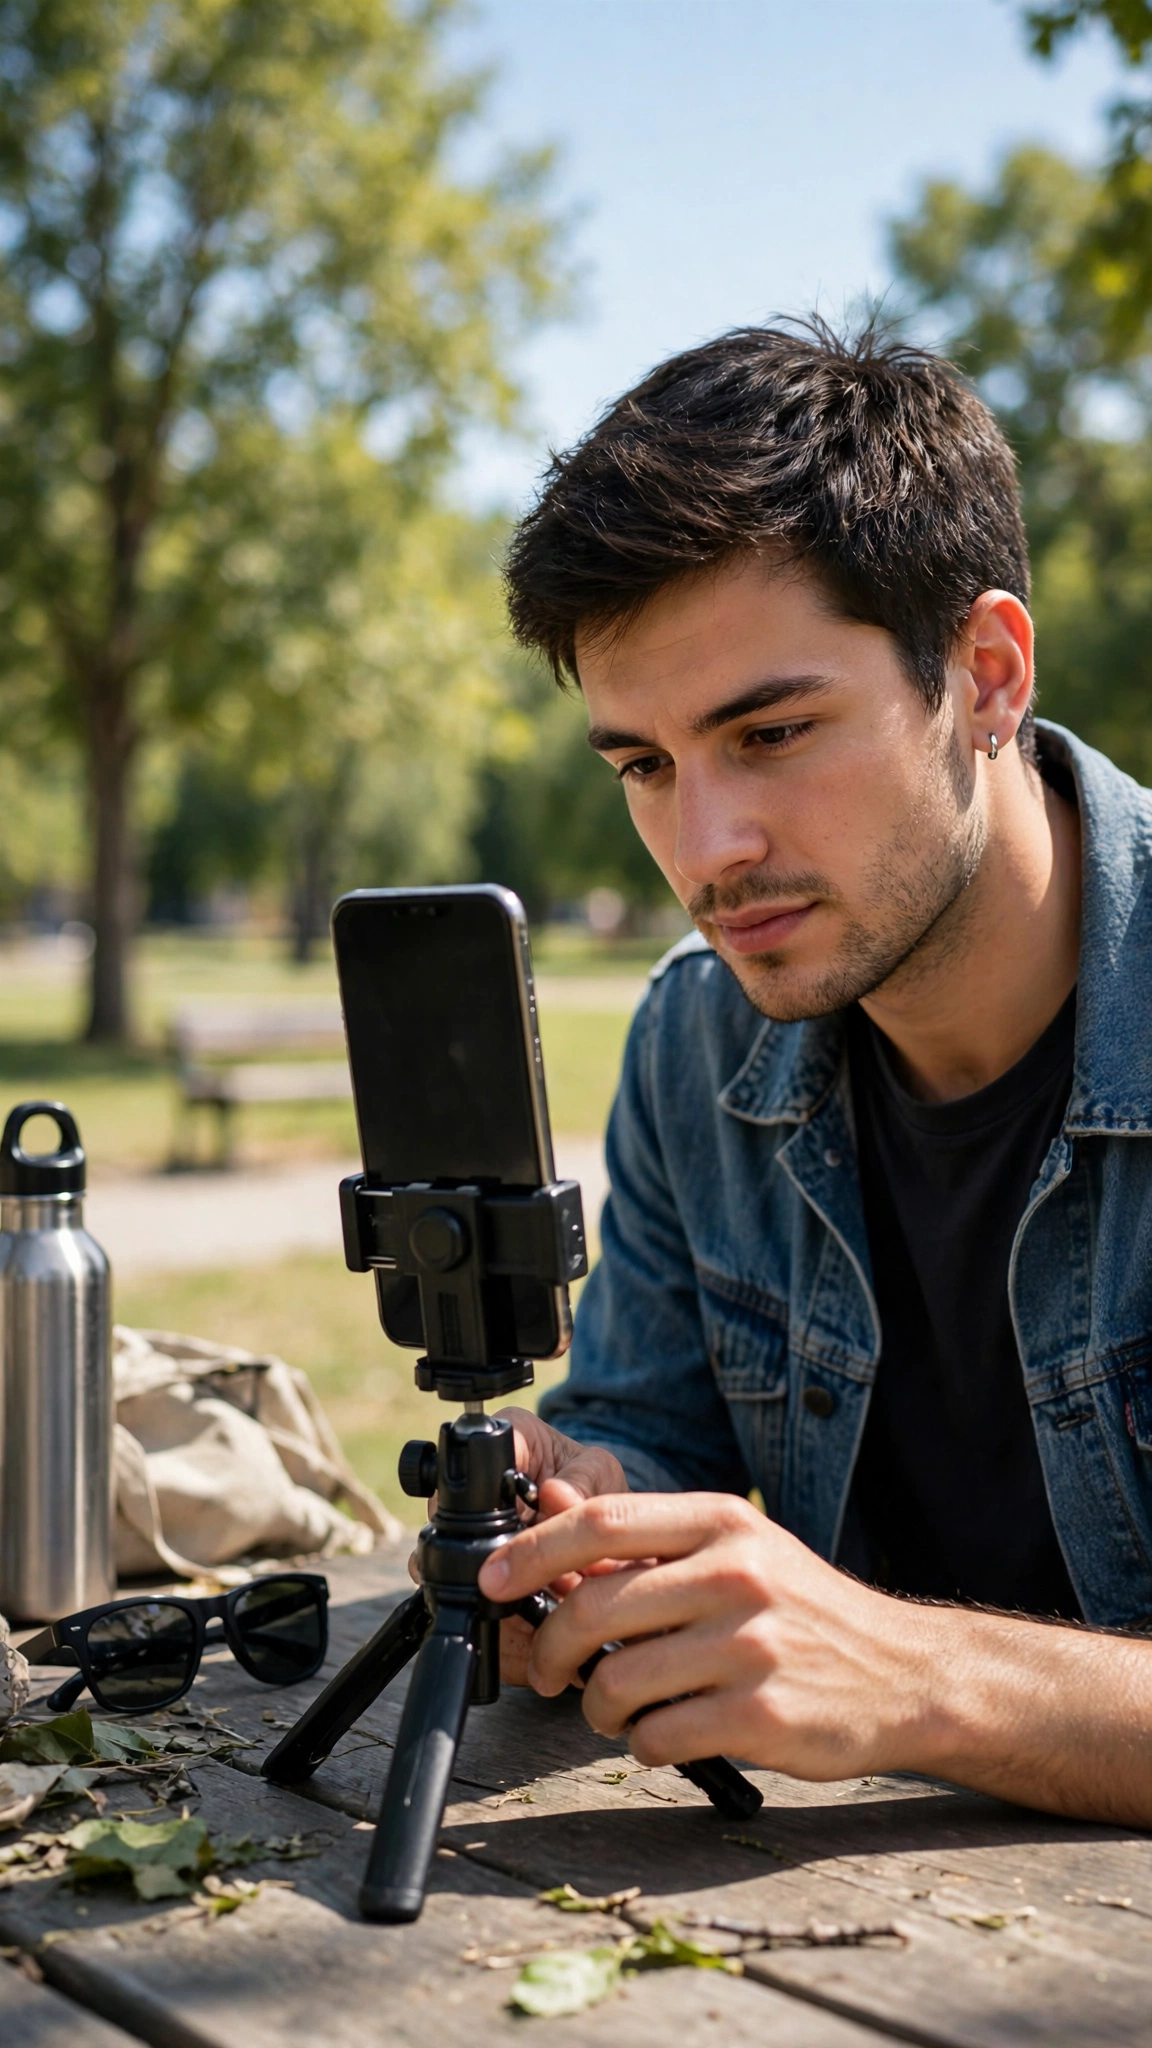
Use the rear camera when you can, with the phone on a small tripod, a stack of books, or a shelf. If you must film selfie-style, hold the phone at eye level, not below your chin. Record a five-second test clip and watch it back for three things: is the light on your face, is the audio clear, and is anything distracting in the background? Fix those now, not in editing.
For audio, record somewhere quiet. Phone microphones pick up traffic, fans, and echo more than you notice while filming. If you are recording a voiceover later, film the visuals now and add the voice in editing — the app lets you do that, and it is easier than getting clean live audio in a noisy room. Our guide on how to record better videos with a smartphone covers lighting, framing, and audio in more detail.
Step 3: Record in the Reels camera
Open Instagram and tap Create at the bottom of the screen, then choose Reel. You have two ways to get footage in:
- Record in the app: hold the record button to film a clip, or tap it once to start and again to stop. Each press creates another clip, and the clips add up to one Reel. A timer (3 or 10 seconds) gives you hands-free recording, and the speed control lets you film in slow motion (0.5x) or fast-forward (2x or 3x).
- Upload from your camera roll: tap the thumbnail in the bottom left and select clips or photos you already shot. You can build a Reel from still photos too — Instagram plays them as a slideshow.
Before you record, check the left-hand toolbar. The Align tool overlays a transparent frame of your last clip’s final frame, which is how outfit-change and location-swap transitions line up cleanly. The audio, effects, and speed controls are here too, but you can add most of them after recording, so do not let the toolbar slow you down on a first attempt.
Film each clip a second or two longer than you need at both ends. Trimming is easy; stretching a clip that ends too early is not.
Step 4: Edit on the timeline
After recording, tap Next and then Edit video in the bottom left. This opens the timeline, where your clips, text, stickers, and music sit on separate tracks. This is where a rough recording becomes a Reel:
- Trim and reorder: drag a clip’s edges to shorten it, or tap Reorder and drag clips into a new order. Cut dead air at the start of every clip — the first half-second of silence is where viewers swipe away.
- Split a clip: if one clip contains two ideas, split it and delete the weak half.
- Undo and redo: the editor keeps up to 20 undo steps, so experiment freely.
Then add the layers, in this order:
- Audio. Tap the music note icon to browse Instagram’s music library, or tap the microphone icon to record a voiceover on top of the video. If you use trending audio, check the volume balance — your voice should win over the music.
- Text overlays. Tap the Aa icon to add on-screen text. Use it for the hook in the first frame, key numbers, and punchlines — the moments you choose to emphasize. Tap a text box on the timeline and drag its ends so each line appears exactly when you say it.
- Captions. Tap the sticker icon and choose Captions. Instagram transcribes your speech and puts it on screen as word-by-word subtitles. This is different from a text overlay: captions surface everything you say, which makes the Reel watchable with the sound off and more accessible. Proofread the auto-captions before publishing — the transcription is not perfect, and you can tap a word to fix it.
- Effects and stickers. Use these sparingly on a first Reel. One effect that serves the idea beats five that distract from it.
If you want finer control than the in-app editor offers, Instagram makes a separate free app called Edits, available for iPhone and Android since April 2025. It has a full timeline, generated captions, green-screen tools, and watermark-free export, and it shares straight to Instagram as a Reel. For a first Reel, the in-app editor is enough; reach for Edits when you start editing regularly. If you prefer to caption in a separate tool, our guide on how to add captions to videos for free compares the options.
Step 5: Write a searchable caption and pick a cover
Tap Next to reach the share screen. Two decisions here matter more than most beginners expect:
- The caption. You get up to 2,200 characters. Put the hook in the first line, because most of the caption hides behind “…more”. Write the caption the way someone would search for it — “how to fold a fitted sheet in 30 seconds” is findable; “happy Monday!!” is not. Add a few relevant hashtags at the end, and only ones that describe the content.
- The cover. Tap Edit cover and pick a frame, or upload a dedicated cover image. The cover is what shows on your profile grid and drives the click, so choose a frame with your face or the finished result in it, not a blurry mid-motion frame. Keep text out of the bottom third of the cover, where the grid overlays it.
On the same screen, add a location if it helps people find you, and choose whether to also share the Reel to Facebook. Under More options, you can turn closed captions on or off and control whether others can download your Reel or use it as a template.
Step 6: Publish — and check it like a viewer
Tap Share. Then do what most beginners skip: open the Reel as a stranger would. Watch it once on your phone with the sound off — do the captions carry the message? Check that the text is not hidden behind Instagram’s buttons, that the cover looks right on your grid, and that the caption reads cleanly.
If something is wrong, you can edit the caption and cover after posting, but you cannot swap the video. A text mistake costs a caption edit; a video mistake costs a re-upload. That is why the sound-off check matters before you share, not after.
A first-week practice plan
One Reel teaches you the buttons. A short run teaches you what works for your audience. Try this:
- Reel 1: a 15-second tip or before-and-after, filmed in one take.
- Reel 2: the same idea, but with on-screen text and auto-captions added.
- Reel 3: a 30- to 60-second tutorial with three clips and a voiceover.
After each one, look at two numbers in Instagram’s insights: how many people watched, and how many watched to the end. The second number is the useful one — it tells you whether the idea held attention, not just whether the thumbnail earned a tap. Do not chase anyone else’s posting schedule until you know what a finished Reel costs you in time; two good Reels a week beat seven rushed ones.
If you want to turn Reels into a regular habit, pair them with a plan. Our guide on how to create a content calendar in Google Sheets shows a simple way to schedule ideas, and if you are thinking bigger, our guide on how to start a YouTube channel from scratch covers the longer-form side of video.
Frequently asked questions
How long should my first Reel be?
15 to 60 seconds is a good target. Instagram allows Reels up to 20 minutes, but Reels longer than 3 minutes are not recommended to people who do not follow you, and short Reels are easier to finish — which is what keeps a new viewer watching.
Do I need editing software to make a Reel?
No. Instagram’s built-in editor handles recording, trimming, music, text, captions, and effects. The free Edits app adds a fuller timeline if you outgrow the in-app tools.
Why do my Reels need captions?
Many people watch with the sound off, and captions make the Reel understandable without audio. Instagram’s Captions sticker generates them automatically from your speech; proofread them before posting, because the transcription is not always accurate.
Can I make a Reel from photos?
Yes. Select multiple photos from your camera roll in the Reels camera and Instagram plays them as a slideshow. It is a useful format when you have good photos but no video footage.
What if I make a mistake after posting?
You can edit the caption, cover, and location after publishing, but you cannot replace the video itself. If the video has an error, delete the Reel and re-upload a corrected version.
The bottom line
Making a first Reel is a six-step loop: plan one idea in one sentence, shoot it in good light, record it in the Reels camera, trim and caption it on the timeline, write a searchable caption with a real cover, and check it with the sound off before you share. The app does the technical work. Your job is the idea, the first two seconds, and the captions that let the Reel work silently. Publish the first one, watch what happens, and make the next one better — that is the whole workflow, and it is enough to start.