Introduction
A content calendar is a simple promise: every piece of content you plan to publish has a date, an owner, and a status, and you can see all three at a glance. Without one, ideas live in scattered notes, deadlines are remembered instead of recorded, and publishing happens in bursts — three posts one week, silence for a month.
Google Sheets is a good place to build your first calendar. It is free, works in the browser, and multiple people can edit it at the same time. You do not need a dedicated content tool to plan a blog or a social media account; a well-structured spreadsheet does the job, and it teaches you what your workflow actually is before you pay for software to manage it.
This guide shows you how to set up that spreadsheet: which columns to include, how to keep it usable with dropdowns, filters, and frozen headers, how to plan a month in minutes, and how to run a weekly routine around it. It also says plainly what a spreadsheet cannot do, so you know when it is time to move on.
Step 1: Start with one row per post
The core rule is one row per piece of content. One blog post is one row. One YouTube video is one row. One social media post is one row. If a blog post is also promoted with a social post, those are two rows, because they have different publish dates, owners, and statuses — even though they share a topic.
Do not build a separate sheet for every channel at the start. One master sheet with a Channel column is easier to scan, filter, and count. You can always split it later if one channel grows large enough to deserve its own tab.
Create a new spreadsheet, name the first tab after the month — for example, “November” — and put your column headers in row 1. Freeze that header row before you add any data (View > Freeze > 1 row), so the labels stay visible while you scroll.
Step 2: Set up the core columns
These are the columns every content calendar needs, in this order, from left to right:
- Publish date. The date the piece goes live. The whole calendar is organized around this column.
- Title / topic. The working title, or the topic if the title is not settled yet.
- Channel. Where it publishes: blog, YouTube, Instagram, newsletter, or whichever channels you use.
- Status. Where the piece is in your workflow — see the status list below.
- Owner. The person responsible for getting it published. Even on a solo blog, fill this in; it matters the moment anyone else helps.
- Draft link. A link to the draft document, script, or design file.
- Live URL. The link to the published piece, filled in once it is live. This turns the calendar into an archive you can search later.
That is enough to run a calendar. Do not add more columns until you have used these for a few weeks and found a real gap. Extra columns nobody fills in just make the sheet look cluttered and discourage people from opening it.
Step 3: Add the useful extras
Once the core columns are working, a few extra fields earn their place:
- Primary keyword and search intent. For blog posts, record the main keyword the post targets and what the reader is trying to do — learn something, compare options, or buy. This keeps each post focused and stops two posts from competing for the same keyword. Our guide to writing SEO-friendly blog posts explains how to choose a keyword and match the intent behind it.
- Content type. Article, how-to guide, video, carousel, newsletter, and so on. This helps you see whether your month is all one format.
- Notes. A free-text column for anything that does not fit elsewhere: a source to check, an image that still needs shooting, a date the topic becomes irrelevant.
Add these to the right of the core set, not in the middle of it. The columns you check every day — date, title, status — should stay on the left where they are visible without scrolling.
Step 4: Use a clear set of status values
A status column only works if everyone uses the same words. Pick one set and stick to it. A practical set for a blog or a small team is:
| Status | What it means |
|---|---|
| Idea | A topic worth considering, not yet approved or scheduled |
| Drafting | Someone is actively writing or producing it |
| Drafted | A complete draft exists and is ready for review |
| Editing | The draft is being reviewed and revised |
| Ready | Approved and scheduled; nothing left to do but publish |
| Live | Published, with the live URL filled in |
A simpler set also works — Idea, Drafted, Ready, Posted — especially if you publish alone and do not need a separate editing stage. The number of stages matters less than consistency: if two people mean different things by “Draft,” the calendar stops telling the truth.
Make the status column a dropdown so nobody types a new variation by accident. Select the cells in the Status column, then go to Data > Data validation, choose “Dropdown” (or “List of items” in older Sheets), and enter your status values. Do the same for the Channel column if you publish on more than a couple of channels. Dropdowns are the single biggest quality improvement you can make to a shared spreadsheet.
Step 5: Make the sheet easy to scan
A calendar you cannot scan at a glance is a calendar you will stop opening. Three small features make the difference:
- Freeze the header row. View > Freeze > 1 row keeps the column names visible as you scroll down through the month.
- Filter views. Use Data > Create filter view to slice the sheet without disturbing anyone else’s view. Filter by channel to see only this week’s YouTube videos, or by status to see everything still in Drafting. Filter views are personal — your filter does not change what a collaborator sees — which makes them safe to use on a shared sheet.
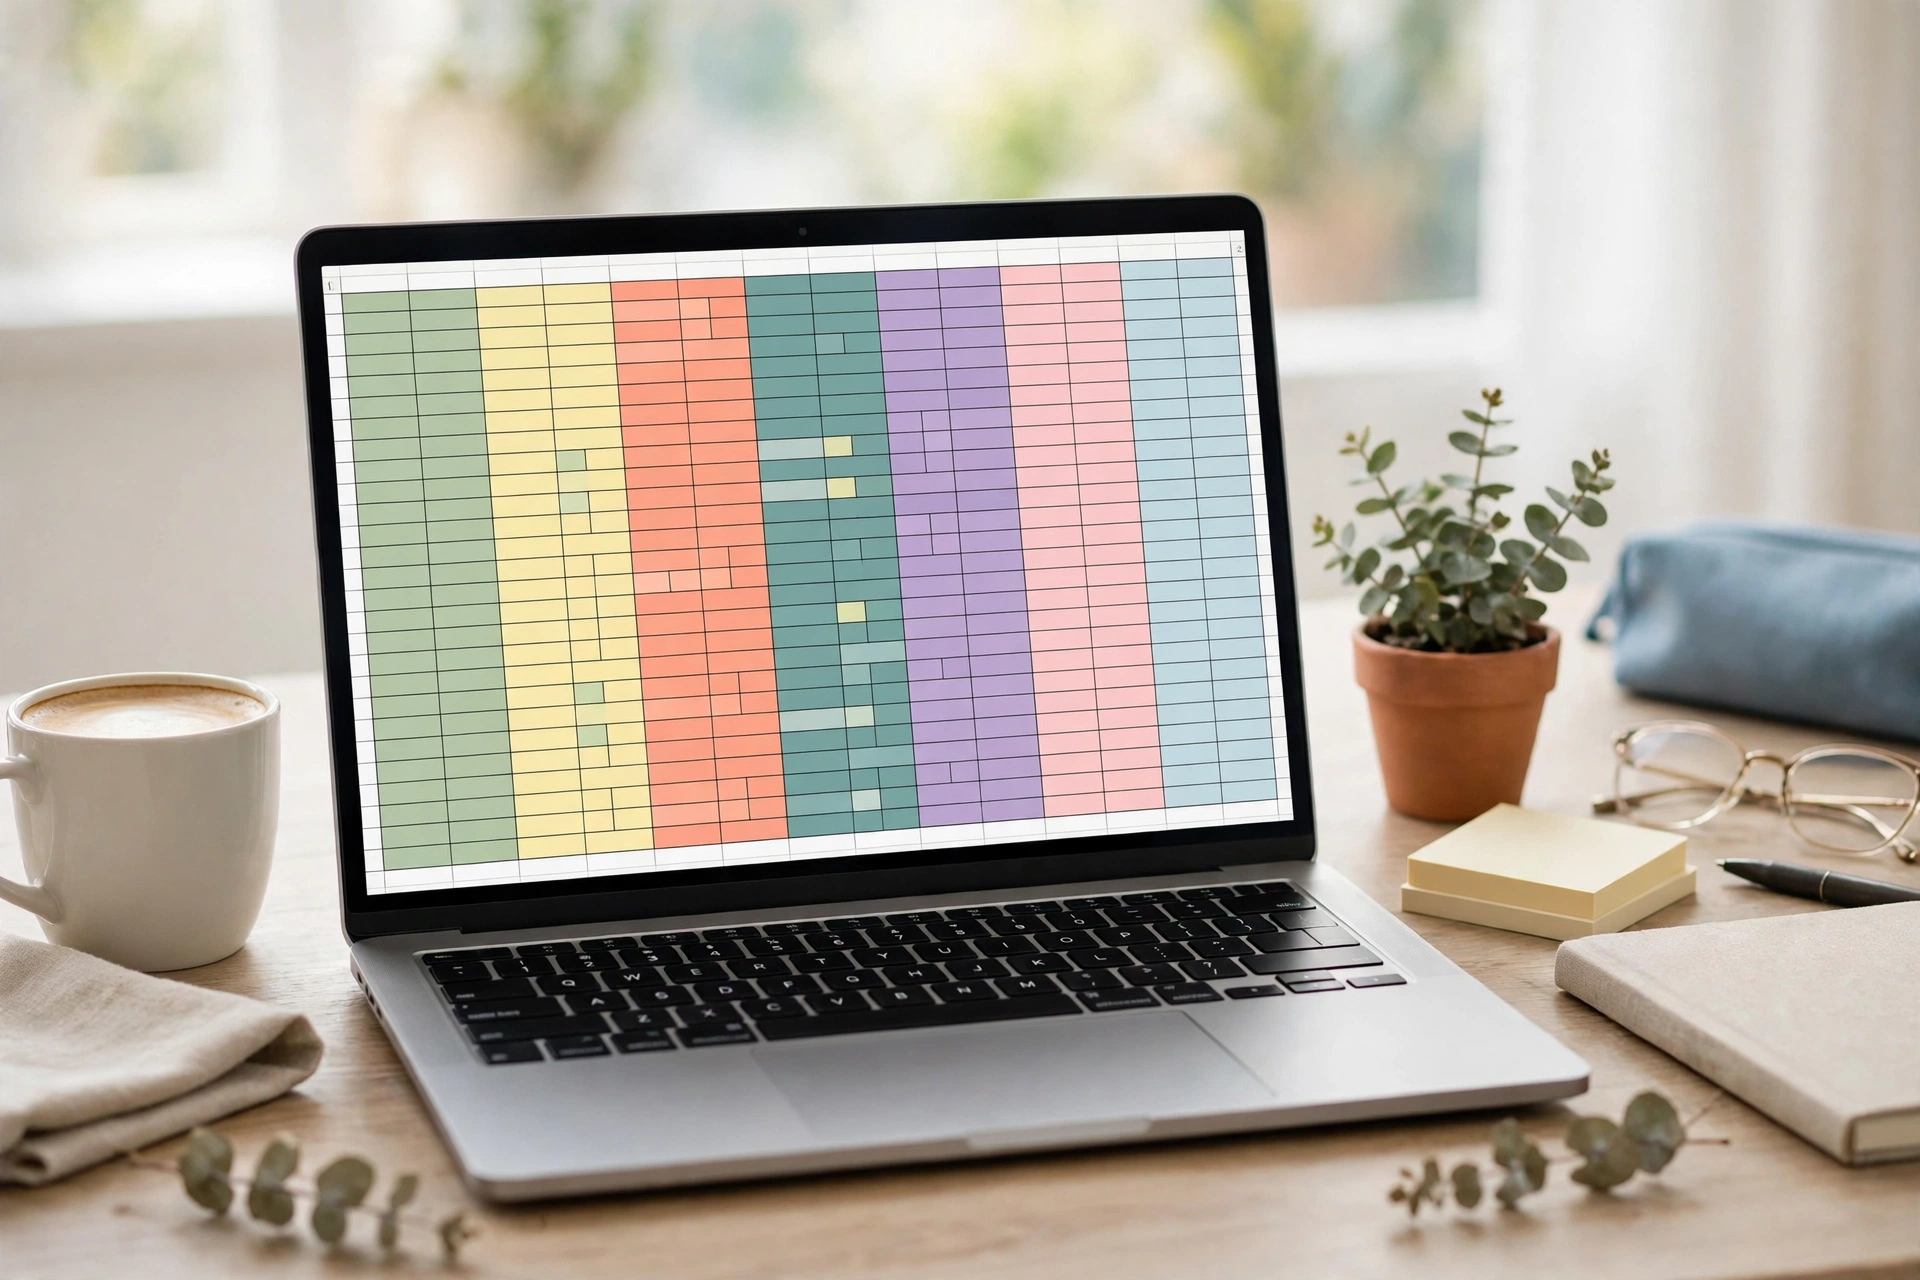
- Colour the status column. Use conditional formatting or simple cell fills so each status has a colour: grey for Idea, yellow for Drafting, blue for Editing, green for Live. Colour is not decoration; it is how you read a month of work in five seconds.
Sort the sheet by publish date, earliest first, so the next thing due is always at the top.
Step 6: Fill in dates quickly with formulas
Typing every date by hand is slow and error-prone. Two formulas do most of the work:
- Fill a column of consecutive dates. Type the first date in a cell, then in the cell below it enter a formula that adds one day to the cell above — for example,
=B4+1if the first date is in B4. Copy that formula down the column and every row gets the next day automatically. - Start a new month. Duplicate the month’s tab, then shift all the dates forward by a month. The
=EDATEfunction does this:=EDATE(B4,1)returns the same day one month later. Apply it to the date column of the copied tab, and your new month is dated in seconds.
One caution: formulas are useful for drafting dates, but once a date is confirmed, paste it as a plain value (copy, then Paste special > Values only) if you are going to sort or move rows. A formula that points at a cell you later delete will break.
A filled example week
Here is what a single week looks like once the calendar is working. These are hypothetical examples, not published posts — they show the shape of a filled-in row, not a promise of content.
| Publish date | Title / topic | Channel | Status | Owner | Primary keyword / intent |
|---|---|---|---|---|---|
| Mon | How to back up your phone photos | Blog | Ready | Ana | back up phone photos / learn |
| Tue | Backing up photos: the 60-second version | Drafted | Ana | — | |
| Wed | Best free PDF editors compared | Blog | Editing | Ben | free PDF editor / compare |
| Thu | PDF editor comparison: shortlist | YouTube | Drafting | Ben | free PDF editors / compare |
| Fri | Monthly budget template walkthrough | Blog | Drafted | Ana | monthly budget template / learn |
| Sat | Budget template: three things to check first | Newsletter | Idea | Ana | — |
Notice what the table shows at a glance: every day has something, no one person is carrying the whole week, and the one row still marked Idea is the only piece with no deadline pressure. If Wednesday’s editing slips, you can see immediately that Thursday’s video depends on the same topic, and decide whether to move one of them.
Step 7: Run a weekly planning routine
A calendar is only as good as the routine around it. A simple weekly rhythm keeps it honest:
- Monday, or your first working day: plan. Look at the coming week. Confirm every row has a date, an owner, and a status. Move anything that is not going to be ready, and fill any empty days with an idea from the backlog. This takes about fifteen minutes and is the most important habit in this whole guide.
- During the week: update the status as work happens. Move a row from Drafting to Drafted the moment the draft exists. A calendar that is updated at the end of the week is a history document, not a plan.
- Friday, or your last working day: review and reset. Check what actually went live against what was planned, fill in the live URLs, and move anything unfinished to next week with a new date. Then look at next week and make sure it has a starting shape — even three rough ideas are enough.
If you are starting a blog, pair this routine with a realistic publishing plan. Our guide to starting a blog from scratch covers choosing a niche and planning your first month of posts; the calendar is where that plan lives day to day. And if video is one of your channels, our guide to starting a YouTube channel from scratch covers the production side that the calendar only schedules.
What a spreadsheet cannot do
Be honest about the limits. A spreadsheet plans content; it does not publish it. Google Sheets has no auto-scheduler and no post preview — it cannot publish a blog post for you, schedule a social media post, or show you how a post will look on Instagram. When a publish date arrives, someone still has to open the platform and publish the piece, then come back and mark the row Live.
That is fine for a solo creator or a small team. But there are signs the spreadsheet is no longer enough: many collaborators (with five or more editors, rows get overwritten and statuses change unnoticed), approvals (if a client or manager must sign off, you need a tool that routes work to them and records it), and asset management (when each post involves images and video files that need their own tracking, a column of links becomes hard to manage).
When you reach that point, look at a dedicated content tool — but take your spreadsheet with you. The columns, statuses, and weekly routine you built are the workflow; the tool is just a new home for it.
Frequently asked questions
Should I use one tab per month or one tab for the whole year?
One tab per month. A year-long sheet gets too long to scan, and duplicating a month tab to start the next one is quick. Keep a separate tab at the front for your idea backlog — topics with no date yet — so ideas are not lost when a month ends.
What if a post is late?
Move its date, do not delete the row. A moved date keeps the history — you can see how often topics slip and whether your planning is realistic. A deleted row hides the problem.
The bottom line
A content calendar in Google Sheets is a table, a set of statuses, and a weekly habit. One row per post, columns for date, title, channel, status, owner, draft link, and live URL, plus keyword and content type when they earn their place. Dropdowns keep the statuses honest, frozen headers and filter views keep the sheet readable, and two small formulas fill in a month of dates. Plan on your first working day, review on your last, and update statuses as work happens.