
Introduction
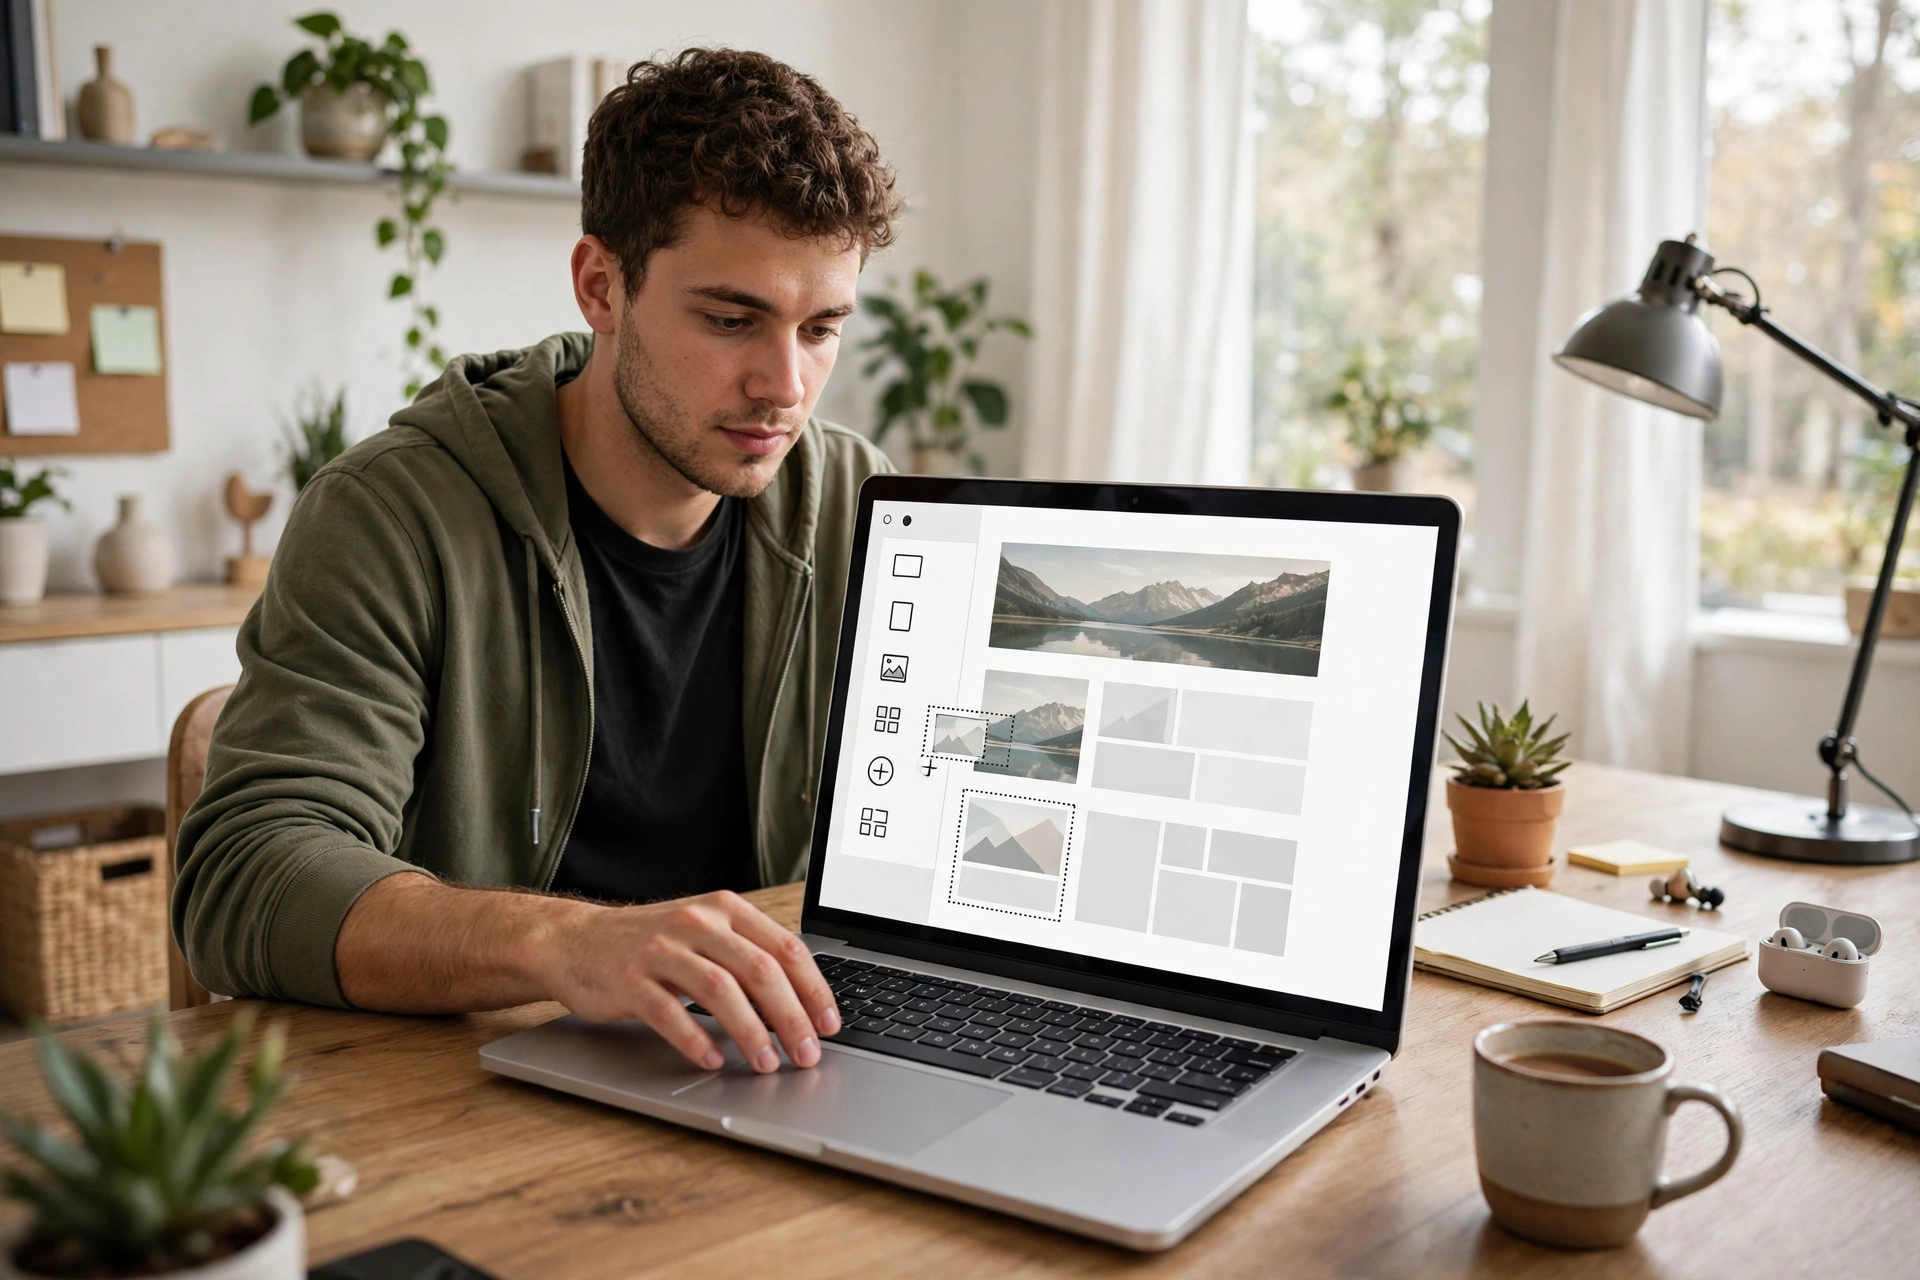
You do not need to learn HTML, CSS, or JavaScript to put a professional website online. Modern website builders and WordPress page builders turn the technical work — hosting setup, layout, mobile responsiveness, security certificates — into visual choices you make by clicking, dragging, and typing.
The hard part is not the building. It is making the right decisions in the right order: what kind of site you need, which platform fits it, what to call it, and which pages it must have before launch. Get those decisions right and the actual build can take an afternoon. Get them wrong and you end up rebuilding the site a month later.
This guide gives you a project plan and a decision tree that takes you from idea to published site, plus a launch checklist to run before you tell anyone the address.
Step 1: Decide what kind of website you are building
Do not pick a platform before you know the site type. A blog, an online store, a portfolio, and a local business site have different requirements, and the platform that is perfect for one can be a poor fit for another.
- Blog or content site. You publish articles regularly and need good writing tools, categories, and search visibility. WordPress and hosted blogging platforms fit well.
- Online store. You sell products, take payments, and manage orders, shipping, and taxes. You need a platform with real commerce features, not just a “buy” button pasted on a page.
- Portfolio or personal site. You show work — photos, design, writing, video — and need it to look good. Design quality and image handling matter most.
- Local business site. You need visitors to find you, trust you, and contact you or visit. Your hours, location, services, and a contact form matter more than anything fancy.
- One-page site. A landing page, a link-in-bio page, or a simple announcement. The lightest option is the right one; a full content management system would be overkill.
Write down the site’s one job in a sentence before you go further: “People visit this site to ___.” Every later decision — platform, pages, design — should serve that sentence.
Step 2: Choose a platform using the decision tree
There are three broad routes to a website without code. Each trades control for convenience.
Route A: Hosted website builder (Wix, Squarespace, or similar). You sign up, pick a template, edit it in a drag-and-drop editor, and publish. Hosting, security updates, backups, and support are included in one monthly subscription. This is the fastest route and the best choice when you want a good-looking site live this week and do not expect to need custom features later. The trade-off is portability: your site lives on that company’s platform, and moving it elsewhere later usually means rebuilding.
Route B: Self-hosted WordPress (WordPress.org) with a page builder. WordPress is free, open-source software you install on hosting you buy. A page builder plugin such as Elementor or the built-in block editor lets you design pages visually, with no code. This route takes longer to set up and you are responsible for updates and backups (or your host handles them on a managed plan), but you own the site and can move it to any host. It is the best choice for blogs, growing business sites, and anyone who wants full control over design, plugins, and search optimization.
Route C: AI website builder. Newer tools generate a complete site from a short description of your business, then let you edit the result visually. This is the fastest way to get a first draft, and it works well for simple brochure sites. Check the result carefully — AI-generated text and images need human editing before they represent your business — and confirm you can export or move the site if you outgrow the tool.
The decision tree in short:
- One-page site or simple portfolio, and design matters most → hosted builder.
- Blog, content site, or a business site you plan to grow for years → self-hosted WordPress.
- Need a store → a platform built for commerce, or WordPress with a commerce plugin, depending on how many products you sell.
- Need something live today and you are still deciding → an AI builder or a hosted builder’s free plan, with the understanding you may rebuild later.
If you are still torn, our comparison of WordPress vs website builders works through cost, control, maintenance, and portability in detail.
Step 3: Pick a domain name
A domain name is the address people type to reach your site, such as yourbusiness.com. Before you fall in love with one, check that it is available and that you can register it.
- Keep it short and easy to say out loud. If you have to spell it over the phone, it is too complicated.
- Match your business or brand name where possible, and avoid hyphens and numbers, which are easy to misremember and mistype.
- Prefer .com for a US audience when it is available; other endings work, but .com is what most people guess first.
- Register it yourself, at a registrar you control, with your own login — even if your host offers a free domain for the first year. That way the domain stays yours if you ever change hosts.
Our guide to what a domain name is and how it works explains registrars, renewals, and the difference between a domain and hosting in plain language.
Step 4: Set up hosting and connect the domain
If you chose a hosted builder, hosting is already included — you connect the domain inside the builder’s settings and the company handles the rest.
If you chose self-hosted WordPress, you buy a hosting plan, and most hosts install WordPress for you in one click during signup. Then you point your domain at the host. There are two ways to do that — change the domain’s nameservers to your host’s, or edit the domain’s DNS records — and either way the change usually takes effect within a few hours, though it can take up to 48 hours to be visible everywhere. Do not panic if the site does not load immediately after you make the change.
Also confirm your site loads over HTTPS with a valid security certificate. Reputable hosts and builders include a free SSL certificate and turn it on automatically. If your browser shows a “not secure” warning, check your host’s SSL settings before you publish — visitors trust a site with the padlock, and search engines do too. Our SSL certificate guide explains what the certificate does and what to check.
Step 5: Build the essential pages
Start with a template or starter layout that matches your site type, then replace its demo content with your own. Resist the urge to design from a blank page on your first site — a good template gives you structure, spacing, and mobile layout for free.
Every site needs these pages before launch:
- Home. Say what you do, who it is for, and what the visitor should do next — all above the fold, in plain words. One clear call to action beats three competing ones.
- About. Who you are, why you do this, and why a visitor should trust you. A real photo and a few specific details beat a generic mission statement.
- Services or Products. What you offer, what it costs (or how to get a quote), and what happens after someone contacts you.
- Contact. A form, an email address, a phone number if you take calls, and your location or service area. Test the form yourself — send a message and confirm it reaches your inbox.
- Blog or Articles (if you publish content). Even two or three helpful articles make a site feel alive and give search engines something to find.
- Privacy Policy. Required if you collect any information through forms or analytics, and expected by visitors regardless. Most builders offer a generator or template; adapt it to what you actually collect.
For a blog specifically, our step-by-step guide to starting a blog from scratch covers niche, first posts, and a realistic first-month plan.
Write your own text. Template placeholder text and AI-generated filler are easy to spot, and your own words are what make the site yours. Keep sentences short, use headings to break up long pages, and say the same thing in half the words on your first pass, then check whether anything important was lost.
Step 6: Check mobile, speed, and accessibility basics
More than half of web traffic now comes from phones, so build and test on mobile first, not last.
- View every page on your phone. Text should be readable without zooming, buttons should be big enough to tap, and nothing should overflow sideways or overlap.
- Compress images before uploading. Large photos are the most common reason a new site loads slowly. Resize them to the size they will actually display at, and use a compression tool before upload.
- Check contrast and alt text. Body text should be clearly readable against its background, and every meaningful image should have a short alt description — it helps screen-reader users and search engines.
- Test every link and form. Click through the whole site as a visitor would. A broken contact form on launch day is worse than no form at all.
Step 7: Publish, then keep improving
Publishing is the start, not the finish. Announce the site, ask a few people to try it and tell you what confused them, and fix what they find. Then settle into a rhythm: add useful content regularly, keep the software updated, and check occasionally that the site still loads fast and the forms still work.
If you used WordPress, set a reminder to update WordPress, your theme, and your plugins — or choose a host or maintenance plan that handles updates for you. If you used a hosted builder, updates happen automatically, but you should still review your pages every few months and remove anything out of date.
Launch checklist
Run through this list before you share the site publicly:
- Domain points to the site and loads without errors
- Site loads over HTTPS with no security warnings
- Home, About, Services/Products, and Contact pages are complete with real content
- Contact form tested — a test message reached your inbox
- Every page checked on a phone: no sideways scrolling, no overlapping text
- Images compressed and each has alt text
- All links clicked and working, including social links and the footer
- Privacy policy page published
- Business name, address, hours, and phone number are correct and consistent everywhere they appear
- Site title and description set for search engines (in WordPress, under Settings; in builders, under SEO settings)
Frequently asked questions
Do I need to know how to code to make a website?
No. A hosted builder or WordPress with a page builder lets you design pages visually. Coding knowledge helps only if you later want custom features that no plugin or setting provides.
How much does a website cost without coding?
The software itself can be free — WordPress costs nothing, and builders offer free plans with limits. You will normally pay for a domain (roughly the cost of a lunch per year) and either hosting or a builder subscription. Introductory prices are usually lower than renewal prices, so check what year two costs before you commit.
How long does it take to build a website without coding?
A simple site with a template — home, about, services, contact — is realistic in an afternoon once hosting and the domain are set up. A store or a content-heavy site takes longer, mostly because of the writing and product details, not the building.
Can I move my website to another platform later?
With self-hosted WordPress, yes — you own the files and database and can move them to another host. With a hosted builder, moving usually means rebuilding the design, though you can normally export your text content. This is worth deciding before you build, not after.
Is a free website plan good enough?
For a test or a personal page, yes. For a business, usually not: free plans typically show the platform’s branding, use a subdomain instead of your own domain, and limit features such as forms or analytics. A custom domain and a paid plan are a small cost for a business site.
The bottom line
Building a website without coding is a sequence of five decisions: site type, platform, domain, essential pages, and a launch check. Decide the type first, let it choose the platform, and build from a template instead of a blank page. Publish once the checklist passes, then improve the site based on what real visitors do — a live site you keep improving beats a perfect site that never launches.


1 thought on “How to Create a Website Without Coding”