
Introduction
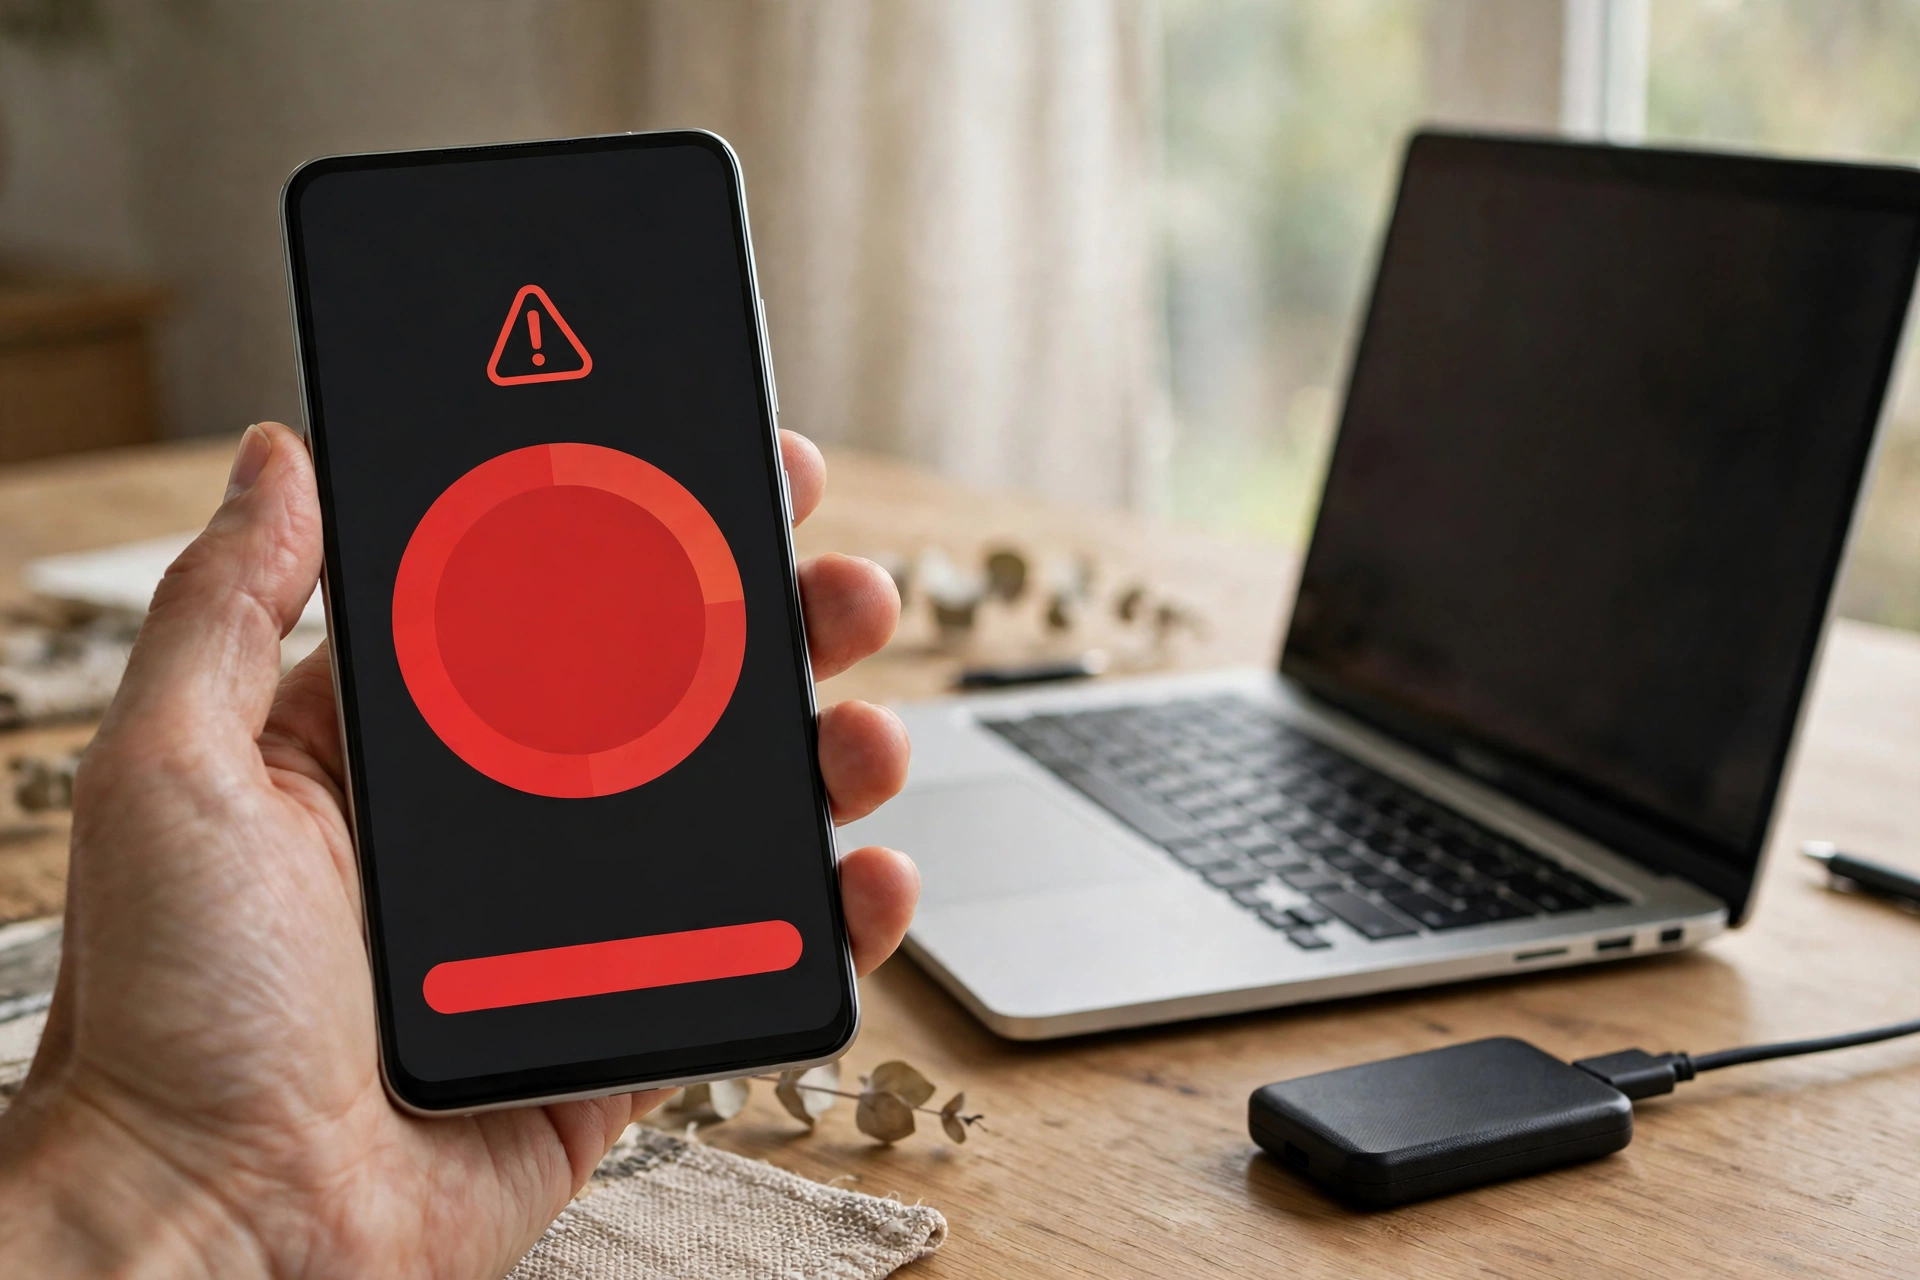
The “storage almost full” warning always arrives at the worst moment — when you are about to record a video, install an update, or take a photo. Deleting things at random is how people lose photos, chat history, and offline music they actually wanted to keep. There is a better order: find out what is taking up the space, back up your photos, then delete from the safest items — junk files and cache — toward bigger decisions like removing apps. Menu names vary a little by phone maker and Android version, so Samsung paths are called out where they differ.
Step 1: Diagnose what is using your storage
On a Pixel or most stock Android phones, open Settings > Storage: used and free space, then categories such as Apps, Images, Videos, Audio, Documents, Trash, and System — tap one to see what sits inside it. On Samsung, the same screen is at Settings > Device care > Storage; on other brands, search “Storage” in Settings.
Note the two or three biggest categories: usually photos and videos, one or two apps holding gigabytes of cached or downloaded content, or forgotten downloads. If System is the biggest, do not worry — that space belongs to Android itself.
A storage audit by category
| Category | Where to clean it | Risk |
|---|---|---|
| Junk / temporary files | Files by Google > Clean | Low — apps rebuild them |
| App cache | Settings > Apps > [app] > Storage > Clear cache | Low — the app rebuilds it |
| Photos and videos (backed up) | Google Photos > Free up space | Low — only after backup is confirmed |
| Photos and videos (not backed up) | Back up first, then delete | High — deletion is permanent |
| Downloads and large files | Files by Google > Large files / Downloads | Medium — check each file first |
| WhatsApp and chat media | WhatsApp > Settings > Storage and data > Manage storage | Medium — check before deleting |
| Unused apps | Settings > Apps, or Files by Google | Low (archive) to medium (uninstall) |
| App data (“Clear data”) | Settings > Apps > [app] > Storage | High — signs you out, wipes local data |
Step 2: Back up your photos first
Photos and videos are usually the biggest thing on the phone, and the thing people most regret deleting — so back them up before you free anything. Open Google Photos, tap your profile picture, and check Backup reads Backup complete; if it is still in progress, connect to Wi-Fi and wait.
Only then use Free up space: tap your profile picture, then Free up space on this device. It deletes local copies of photos and videos already backed up; the cloud copies stay in your library.
Two things to know. First, “Free up space” is not the same as “Delete”: deleting a photo inside Google Photos can also remove it from the device — and, if backed up, from other devices with backup turned on. Second, some recent photos may stay: Google notes photos and videos less than 30 days old may remain on the phone. Without Google Photos, back up to another cloud service or copy photos to a computer or external drive first. Either way: verify the backup before you remove the original.
Step 3: Clear junk files with Files by Google
Files by Google is Google’s free file manager, preinstalled on many phones and a free download from the Play Store on the rest. Its Clean tab is the safest one-tap cleanup on Android, because it only suggests items it knows are removable.
Open Files by Google and tap Clean at the bottom (on some versions, tap Menu first, then Clean). Work through the cards — Junk files, Duplicate files, Old screenshots, Large files, Downloaded files — tapping Select files on each, unchecking anything to keep, and confirming. Start with the Junk files card: temporary files apps can recreate, so cleaning them is safe. Google warns files cleared this way are deleted permanently rather than moved to Trash, so glance at the list before you confirm.
One catch: files deleted elsewhere usually go to the Trash first and keep using space until you empty it. In Files by Google, open the menu, tap Trash, and delete permanently only after a quick scan.
Step 4: Clear cache — but do not clear data
This is the step where most people make a mistake, because two buttons sit side by side and do very different things.
Clear cache removes temporary files an app keeps to load faster — thumbnails, preview images, pages you recently viewed. The app simply rebuilds them, and your account, chats, settings, and downloaded content stay put. Browsers, social apps, and streaming apps can each hold several gigabytes of cache, so this is often a quick win.
Clear data (called Clear storage on Pixel) is a reset button. It wipes everything the app has saved: your login, settings, downloaded episodes, offline playlists, and sometimes unsynced notes. You will have to sign in again and set the app up from scratch.
The path is the same on most phones: Settings > Apps, tap the app, tap Storage (or Storage & cache), then tap Clear cache. Start with the biggest apps — usually Chrome, Instagram, TikTok, Spotify, or YouTube. Only tap Clear data when you are happy to sign in again and lose that app’s local content; be especially careful with authenticator and banking apps, where clearing data can lock you out.
Step 5: Delete downloads, large files, and offline content
Downloads are the easiest space to reclaim and the easiest to overlook: old PDFs, installer files, videos someone sent you months ago, and screen recordings sit in the Downloads folder long after you forgot them. In Files by Google, use the Large files and Downloaded files cards, which sort files by size. Preview each file before you delete it — a large file is not automatically a useless one.
Some of the biggest storage users hide inside apps: downloaded songs, podcasts, and videos in Spotify, YouTube Music, and Netflix; offline maps in Google Maps (profile picture, then Offline maps); and email attachments in Downloads, caught by the same cleanup.
If your phone has a microSD card, move things to it now: select photos, videos, and documents, choose Move to, and pick the SD card. Moving beats copying, which leaves the original on the phone and frees nothing. Apps themselves usually cannot be moved to an SD card, and many newer flagships do not support microSD cards at all.
Step 6: Uninstall or archive apps you do not use
An app you have not opened in three months is a candidate for removal — but you have options less drastic than uninstalling.
Archive is the gentlest option: on Pixel and recent Android phones, go to Settings > Apps, tap the app, and choose Archive. It removes the app but keeps your data, so reinstalling restores everything as you left it. Uninstall removes the app and its local data — use it for games you finished, apps you tried once, and duplicates. Long-press the app icon and tap Uninstall, or go to Settings > Apps, tap the app, and tap Uninstall.
Disable is for preinstalled apps that cannot be uninstalled: it stops the app from running and hides it. It frees less space than uninstalling, but stops the app using resources in the background. If you have been wondering why your phone battery drains so fast, rarely used apps running in the background can be part of the answer, so this step often helps battery life as well as storage. Do not uninstall apps you need for two-factor authentication, banking, or work unless you have a way to sign back in.
Step 7: Manage WhatsApp and chat media
Messaging apps are a hidden space hog: every photo, video, and voice note in a group chat is saved on your phone, and forwarded videos you never asked for can add up to gigabytes.
In WhatsApp, go to the three-dot menu > Settings > Storage and data > Manage storage to see the biggest files and most forwarded items, and delete them chat by chat. Telegram has a similar screen under Settings > Data and Storage > Storage Usage, where you can clear the cache without deleting chats. Deleting a photo from WhatsApp deletes it from the chat on your phone, so save photos you want to keep to your gallery or back them up first. To stop the problem coming straight back, turn off auto-download under Settings > Storage and data > Media auto-download.
Keep it from filling up again
A one-time cleanup buys you space; a few habits keep it free. Keep around 10 to 15 percent of your storage free — Android needs working room for updates and temporary files, and a completely full phone can slow down or fail to update. Let Google Photos back up automatically, run Free up space every month or two, turn off auto-download in chat apps, and check Settings > Storage every few months.
If your phone keeps running out of space after a thorough cleanup, it may simply be too small for how you use it now. Before buying a new phone, check whether a microSD card is supported — a much cheaper way to add room. If the phone still misbehaves after you have cleared space — for example, Wi-Fi shows connected but there is no internet — that is a different problem; a full phone is rarely the cause. Fix storage first, then troubleshoot the connection on its own.
FAQ
Is it safe to clear the cache on Android?
Yes. Clearing an app’s cache deletes temporary files the app can rebuild, such as thumbnails and recently viewed pages; your account, chats, settings, and downloads stay untouched. It is Clear data (or Clear storage) that wipes an app’s saved information, so do not tap that one casually.
Why is my Android storage full even after I deleted photos?
Three common reasons: deleted files sit in the Trash and still use space until you empty it; deleting a photo in Google Photos may not remove the local copy if it was never backed up; or the space is not photos at all — check Settings > Storage again, because apps, downloads, or WhatsApp media may be the culprit.
What is the difference between clear cache and clear data on Android?
Clear cache removes temporary files and is safe — the app rebuilds them. Clear data (or Clear storage on Pixel) resets the app like a fresh install, deleting logins, settings, offline downloads, and unsynced data. Use Clear cache freely; use Clear data only when you are prepared to sign in again and lose the app’s local content.
Will freeing up space in Google Photos delete my photos?
No, as long as you use Free up space on this device and your backup is complete. It removes only local copies of photos and videos already backed up; the cloud copies stay in your library. The Delete button is different — it can remove the photo from your account as well, so do not use it when you only want to free phone space.
Can I move apps to an SD card to free up storage?
On most modern Android phones, no. Apps generally cannot be moved to a microSD card, but your own content can — photos, videos, music, and documents, which is usually where the space is. Check whether your phone supports a microSD card at all; many newer flagship phones do not.
The bottom line
Freeing up storage on an Android phone is a sequence, not a single tap: check Settings > Storage to find the culprit, confirm your photos are backed up, then work from the safest cleanup toward the bigger decisions — junk files and cache first, downloads and large files next, unused apps and chat media last. Remember the one rule: Clear cache is safe, Clear data wipes an app’s saved information. Follow that order and you can reclaim gigabytes without losing a single photo or conversation that matters.







1 thought on “How to Free Up Storage on an Android Phone”